


In a world increasingly captivated by the promise of energy independence, building your own solar powered generator is not just a do-it-yourself project—it's a personal revolution. A declaration that you choose clean power, resilience, and self-reliance. But how, exactly, does one transform sunlight into stored, usable electricity—without needing a degree in electrical engineering or an off-grid homestead?
Let’s unravel the mystery. Piece by piece. Circuit by circuit. With purpose, precision, and the quiet thrill of creation.
The Blueprint: Understanding the Core Components
Before a single wire is crimped, clarity is essential. A solar generator, in its essence, is a symphony of four parts:
- Solar Panels – Your sun-catching workhorses, transforming photons into DC electricity.
- Charge Controller – The conductor, regulating the energy flow to protect the battery from overcharge or excess drain.
- Battery Bank – The reservoir, storing solar energy so it's ready when the sun sets or the storm rolls in.
- Inverter – The translator, converting DC power into AC power—usable for everyday appliances.
When these four components work in harmony, you've built more than a generator. You’ve built freedom.
Step One: Choose the Right Solar Panels
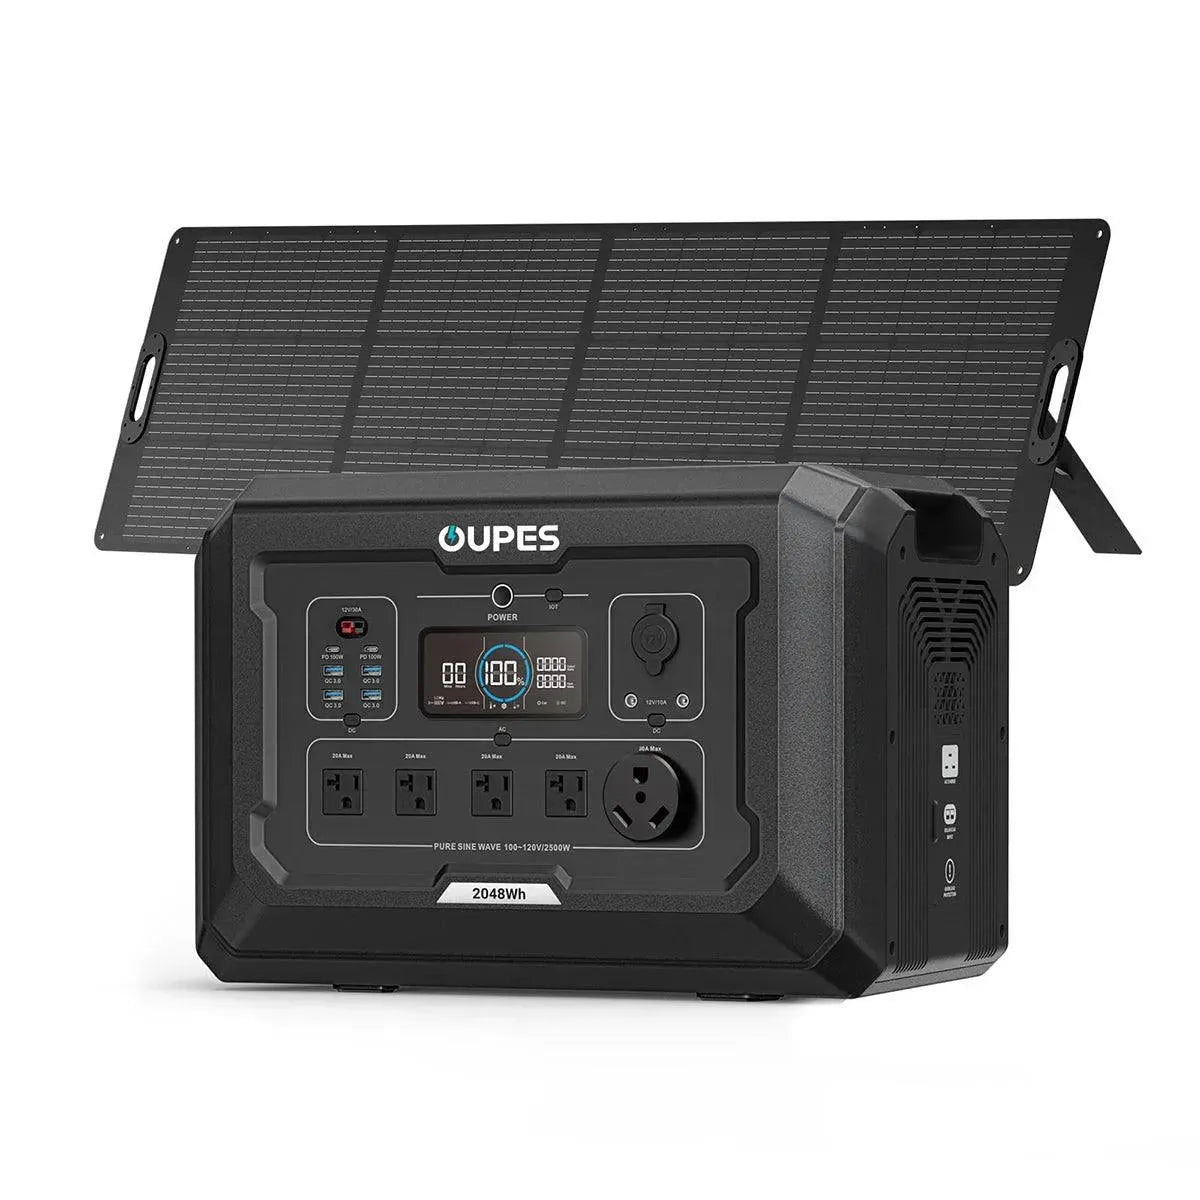
Solar panels are where everything begins. Choose wisely. The wattage of your panel—say, 100W or 200W—dictates how quickly your system charges. Monocrystalline panels are the gold standard: efficient, durable, and space-conscious. With OUPES panels, you're choosing high-performance, plug-and-play reliability tailored to DIY and portable use alike.
Want portability? Foldable panels with built-in kickstands are your best bet. Want permanence? Go rigid and mountable. Your choice sets the tone for the rest of the system.
Step Two: Regulate With a Charge Controller
The charge controller is the quiet sentinel of your system. It ensures your battery receives just the right amount of power—no more, no less. There are two main types: PWM (Pulse Width Modulation) and MPPT (Maximum Power Point Tracking). For those seeking efficiency and versatility, MPPT is the clear winner, especially in variable light conditions.
Install it between the solar panel and battery. Most come with clear input/output terminals. A few screws, a bit of wire, and your system has a brain.
Step Three: Select the Battery
Now we arrive at the beating heart of the operation: the battery. Choose between lithium iron phosphate (LiFePO₄), AGM, or lead-acid. LiFePO₄ is lighter, safer, longer-lasting—and increasingly the standard in portable solar applications.
Match your battery capacity (measured in watt-hours or amp-hours) with your expected power use. Need to charge a phone, laptop, and run a light for 8 hours? A 500–1000Wh battery might be sufficient. Planning to power a refrigerator or heater? Step up to a larger capacity.
Secure the battery in a fire-safe, ventilated container. Safety isn’t optional—it’s integral.
Step Four: Add the Inverter
Your devices use AC power. Your battery stores DC power. Enter: the inverter. This unsung hero converts power into a usable format. If you're only powering DC-compatible gear (USB chargers, 12V appliances), you can skip this. But for laptops, TVs, fans, or anything with a standard wall plug—you need an inverter.
Pure sine wave inverters offer smooth, stable power for sensitive electronics. Choose one with a wattage rating slightly above your highest-expected load. Connect the inverter directly to the battery—observe polarity!—and you’re nearly there.
Step Five: Housing, Testing, and Refinement
Your system deserves a sturdy case—weatherproof, shock-resistant, and organized. Some builders opt for hard plastic toolboxes, others go full custom. Keep wires secure. Ventilate the battery space. Label every component. What you're building isn't just a gadget—it's a tool for the unexpected.
Test each segment independently. Solar to charge controller. Charge controller to battery. Battery to inverter. Inverter to load. No sparks? No alarms? Perfect. Flip the switch. Let the power flow.
Why Build When You Can Buy? Because Ownership Matters
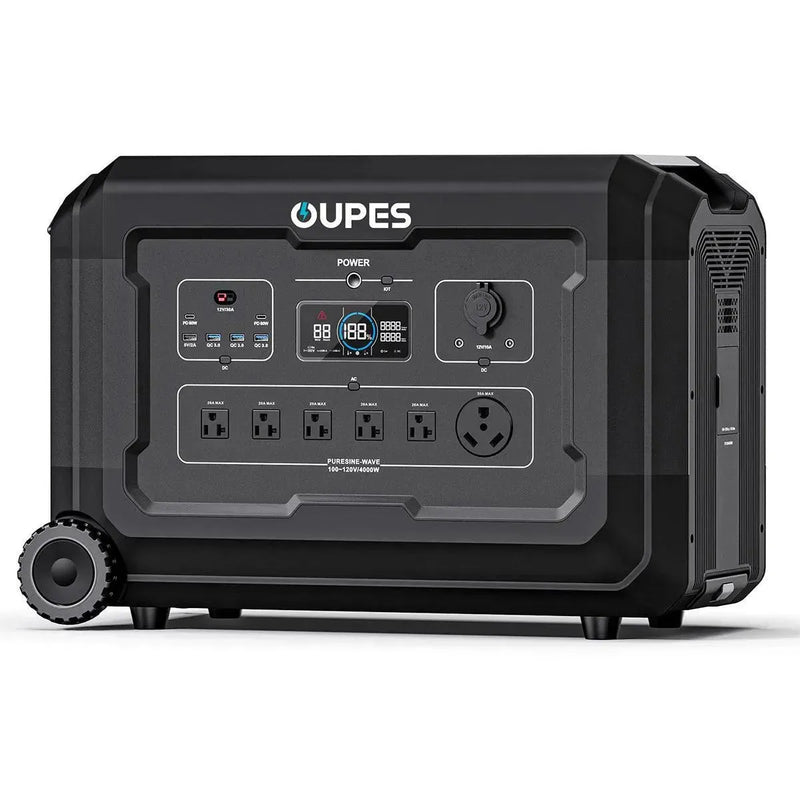
There’s a case for pre-built systems. And OUPES excels there—offering generators that integrate all these elements seamlessly, efficiently, beautifully. But if your hands crave the wires, and your mind thrills at the blueprints, then building your own is a rite of passage. A tactile lesson in autonomy. A deeper understanding of energy itself.
Conclusion: From Sun to Socket
So—how do you build a solar powered generator? You begin with intention. You gather parts not just to assemble a system, but to orchestrate independence. You learn. You solder. You wire. You marvel.
Because in every humming inverter, every stored watt, every silent night lit without the grid, there is a quiet kind of triumph. A power that’s not just renewable, but deeply personal. And with OUPES by your side, whether through components or complete systems, you never build alone.