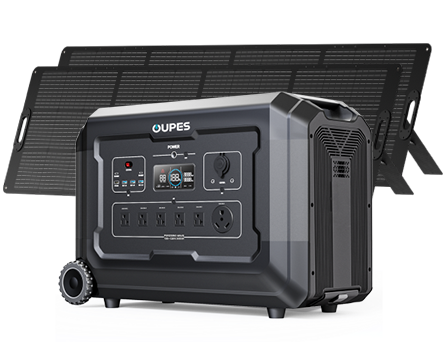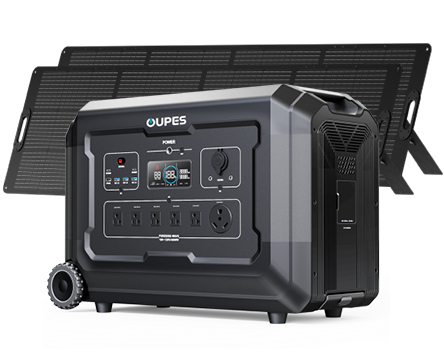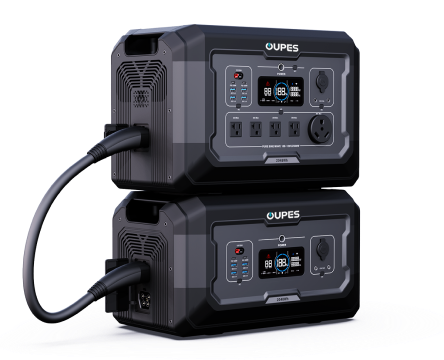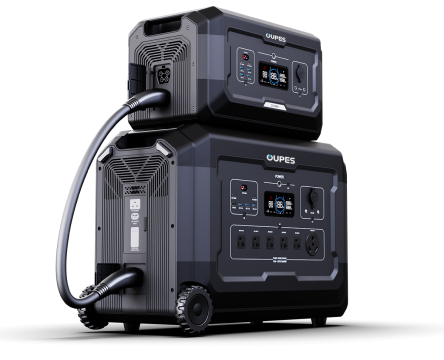
Harnessing the power of the sun to generate clean, renewable energy is an empowering step toward sustainability. Whether you’re preparing for off-grid adventures, reducing your carbon footprint, or ensuring backup power during outages, connecting a solar panel to a solar generator is a practical skill to master. This guide will walk you through every critical step, ensuring you can set up your system safely and efficiently. Let’s dive into the essentials of solar energy integration and unlock the potential of your solar setup.
Imagine a world where your energy source is limitless, free, and environmentally friendly. Solar power makes this possible, but the key lies in understanding how to bridge the gap between your solar panels and generator. From selecting the right components to troubleshooting common issues, this article will equip you with the knowledge to create a seamless solar energy system. Ready to take control of your power supply? Let’s get started.
Understanding the Components of Your Solar Setup
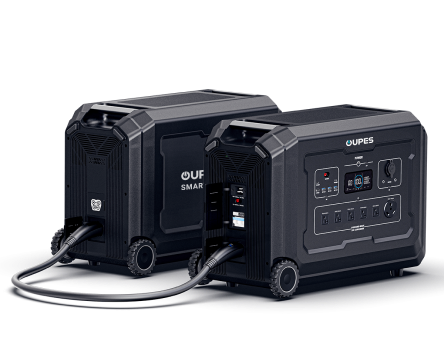
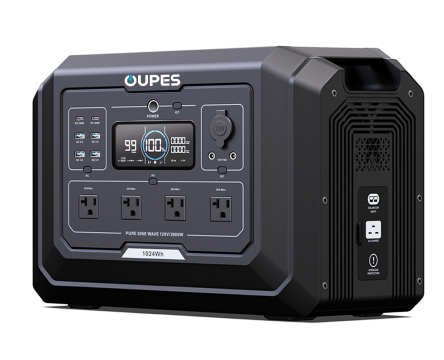
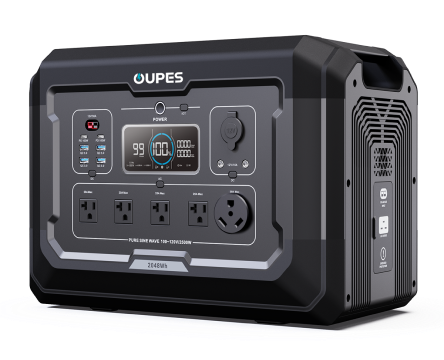
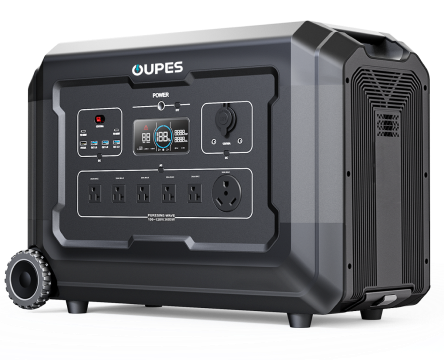
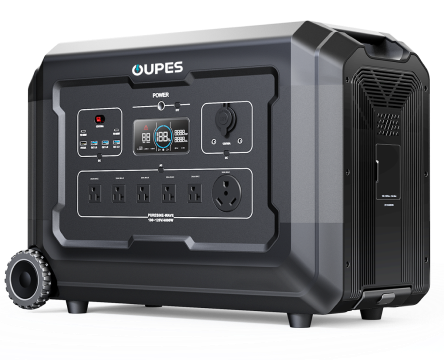
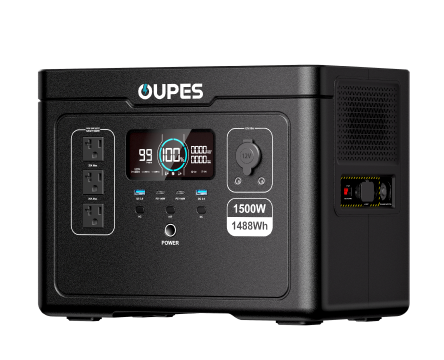
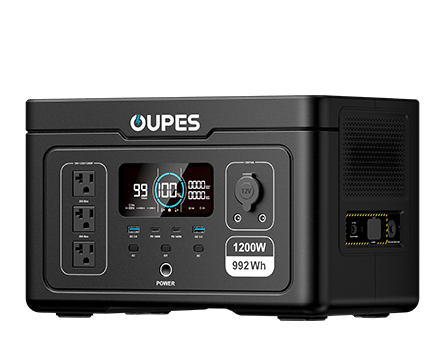
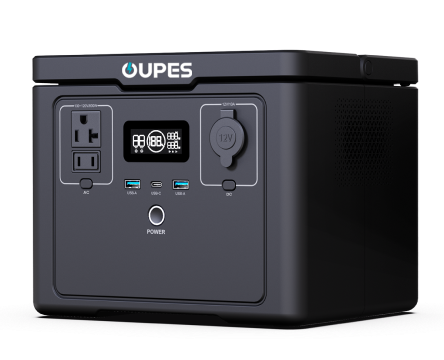
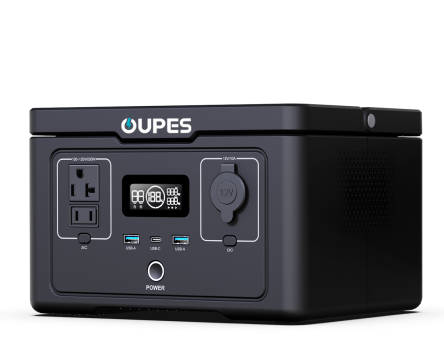
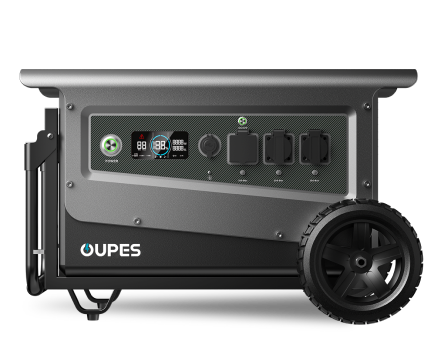
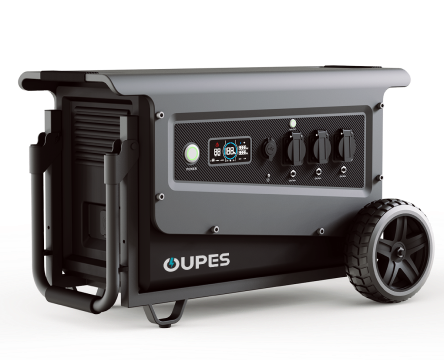
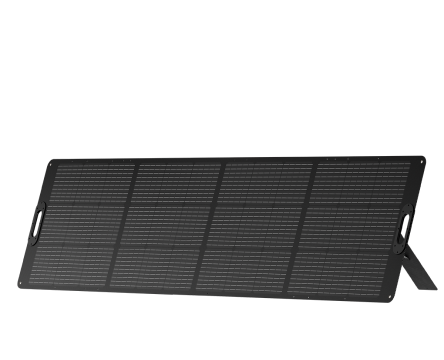
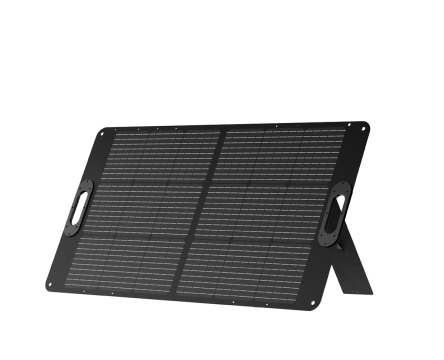
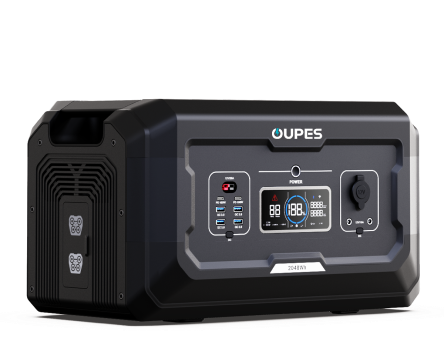
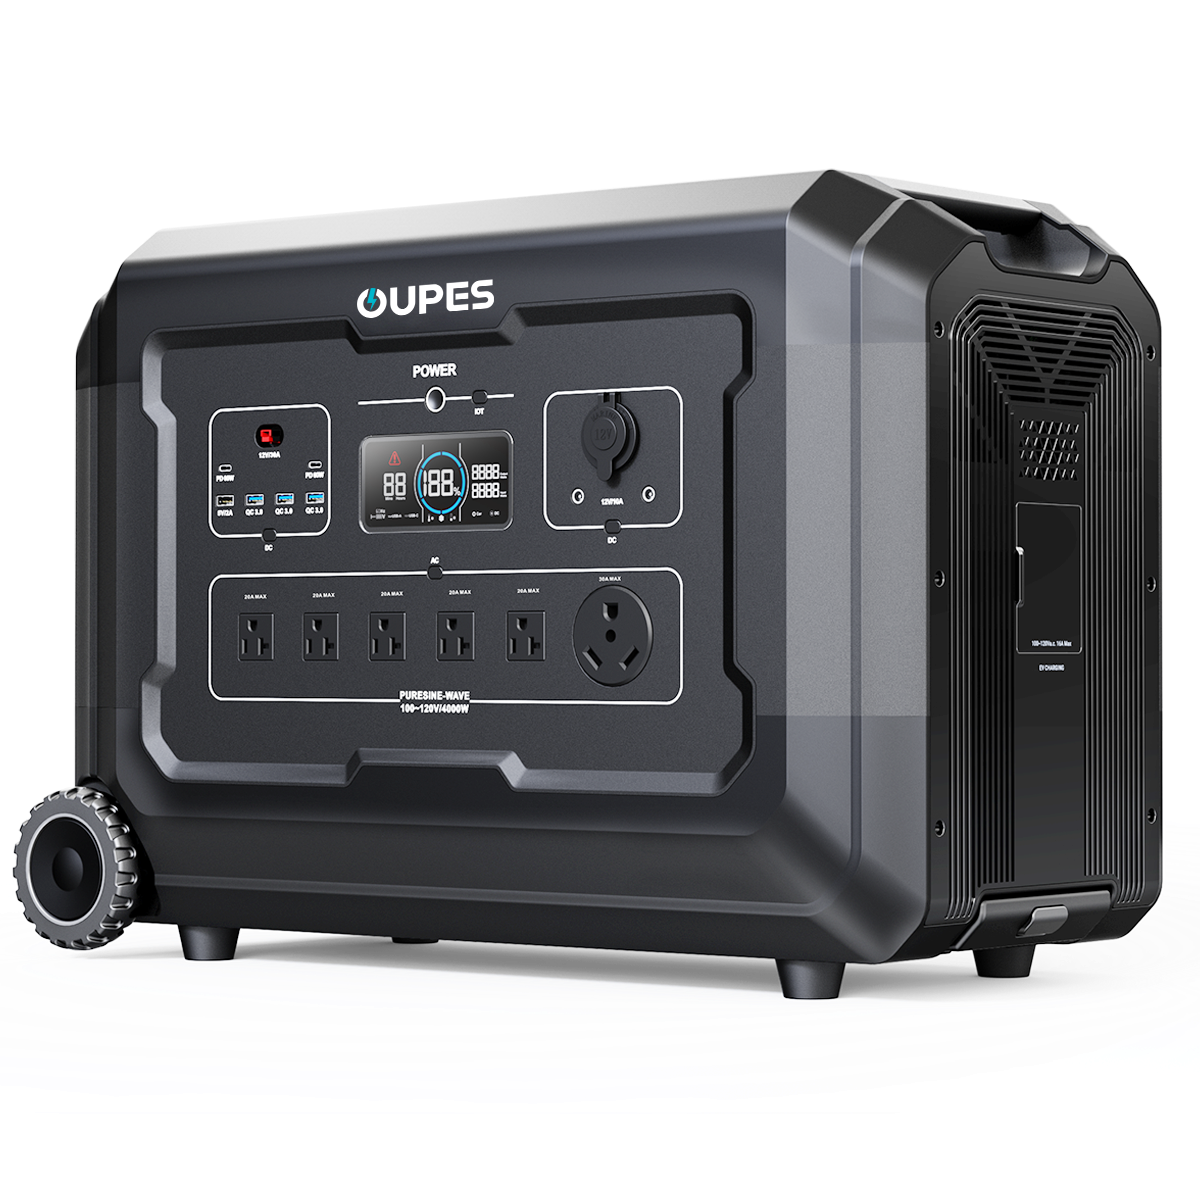
Before diving into the connection process, it’s crucial to familiarize yourself with the core components involved in a solar energy system. A solar panel converts sunlight into direct current (DC) electricity, while a solar generator stores this energy in a battery and converts it into alternating current (AC) for household or device use. The critical link between these two is a charge controller, which regulates the voltage and current flowing from the panel to the generator, preventing overcharging and extending battery life.
Solar panels come in various types, including monocrystalline, polycrystalline, and thin-film, each with unique efficiency ratings and physical characteristics. Your choice will depend on factors like available space, budget, and energy needs. Solar generators, on the other hand, vary in capacity, output ports, and inverter capabilities. Ensure your generator’s input voltage matches your solar panel’s output to avoid compatibility issues. Additionally, cables, connectors, and adapters play a vital role in establishing a secure connection. Most modern systems use MC4 connectors, known for their weatherproof design and ease of use.
Safety is paramount when handling electrical components. Always verify that your solar panel and generator are turned off before making connections. Inspect cables for frays or damage, and use a multimeter to confirm voltage levels. Understanding these components not only simplifies the setup process but also empowers you to troubleshoot issues down the line. With this foundation, you’re ready to move on to the practical steps of connecting your system.
Step-by-Step Guide to Connecting Your Solar Panel to the Generator
Begin by positioning your solar panel in a location that receives maximum sunlight, such as a rooftop, balcony, or open yard. Angle the panel toward the sun using a mounting bracket or adjustable stand to optimize energy absorption. Next, locate the DC output port on your solar panel, which is typically labeled and equipped with MC4 connectors. If your panel lacks built-in connectors, you may need to attach them using a crimping tool.
Now, connect the solar panel to the charge controller. The charge controller acts as a mediator between the panel and the generator’s battery, ensuring safe energy transfer. Match the positive (+) and negative (-) terminals on the panel’s cables to the corresponding inputs on the charge controller. Once secured, link the charge controller to the solar generator’s battery input using another set of cables. Many generators have dedicated solar input ports, simplifying this step. Double-check all connections to ensure they’re tight and corrosion-free.
Finally, power on the system and monitor the charge controller’s display. It should indicate the incoming voltage and current from the panel, as well as the battery’s charge level. If the values align with your equipment’s specifications, the connection is successful. Test the generator’s AC outlets by plugging in a small device, such as a lamp or phone charger. Congratulations—you’ve just created a functional solar power system! Regular monitoring during the first few cycles will help you identify any inefficiencies or adjustments needed.
Choosing the Right Cables and Connectors
Selecting appropriate cables and connectors is often overlooked but is critical for system efficiency and safety. The gauge (thickness) of your cables determines how much current they can handle without overheating. For most residential setups, 10- to 12-gauge cables are sufficient, but larger systems may require 8-gauge or thicker wires. Always refer to your solar panel and generator manuals for specific recommendations.
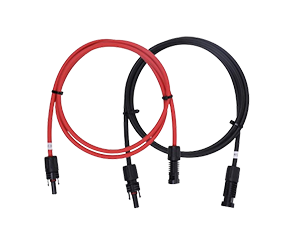
MC4 connectors are the industry standard for solar panels due to their durability and waterproof design. These connectors feature a male and female end, ensuring a secure, polarized connection. If your generator uses a different type of input port, such as Anderson or XT60, you’ll need an adapter. Avoid mixing incompatible connectors, as this can lead to poor conductivity or even short circuits. For DIY enthusiasts, investing in a quality crimping tool allows you to customize cable lengths and replace damaged connectors.
Cable length also impacts performance. Longer cables increase resistance, which can reduce the voltage reaching your generator. Keep cables as short as possible while maintaining flexibility in panel placement. If extending cables is unavoidable, use a thicker gauge to compensate for voltage drop. Additionally, protect outdoor cables with conduit or UV-resistant sheathing to prevent weather-related damage. By prioritizing quality components, you’ll enhance your system’s reliability and longevity.
Safety Precautions and Troubleshooting Tips
Working with solar energy requires strict adherence to safety protocols. Always wear insulated gloves and safety glasses when handling live components. Ensure your solar panel is covered or disconnected during installation to avoid accidental electric shock. Grounding your system is another essential step—attach a grounding wire from the generator or charge controller to a metal rod driven into the earth to dissipate excess voltage.
Common issues include low energy output, loose connections, or battery failure. If your generator isn’t charging, first verify that the solar panel is receiving adequate sunlight and is free of shading. Use a multimeter to test the panel’s open-circuit voltage—if it’s significantly lower than rated, the panel may be damaged. Check all connectors for dirt or corrosion, and clean them with a contact cleaner if necessary. Loose wires can disrupt the circuit, so periodically tighten terminals and inspect cables for wear.
Another frequent challenge is overloading the generator. Calculate your energy consumption in advance and ensure your solar panel’s wattage aligns with the generator’s input capacity. For example, a 100W panel may struggle to charge a 500Wh generator efficiently. If problems persist, consult the manufacturer’s troubleshooting guide or seek professional assistance. Remember, patience and meticulousness are your allies in maintaining a robust solar power system.
Maximizing Efficiency and Long-Term Maintenance
To get the most out of your solar setup, position your panel to track the sun’s movement throughout the day. Fixed mounts are cost-effective, but adjustable or automated tracking systems can boost energy harvest by up to 25%. Keep the panel surface clean—dust, leaves, or snow can block sunlight and reduce efficiency. A monthly wipe with a soft cloth and mild detergent is usually sufficient.
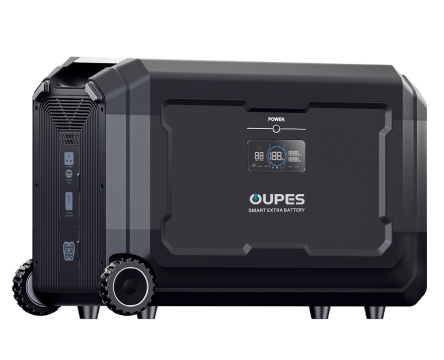
Battery maintenance is equally important. Most solar generators use lithium-ion batteries, which perform best when kept between 20% and 80% charge. Avoid deep discharges, as they can shorten battery lifespan. Store your generator in a cool, dry place to prevent overheating or moisture damage. If you won’t be using the system for an extended period, charge the battery to 50% and power it on every three months to maintain health.
Lastly, monitor your system’s performance using built-in displays or external meters. Track daily energy production and consumption patterns to identify opportunities for optimization. Upgrading to higher-efficiency panels or adding more batteries can scale your system as your needs grow. By adopting these practices, you’ll ensure your solar setup remains a reliable energy source for years to come.
Connecting a solar panel to a solar generator is more than a technical task—it’s a gateway to energy independence and environmental stewardship. By following the steps outlined above, you’ve not only created a functional power system but also contributed to a sustainable future. Remember, every watt of solar energy you harness reduces reliance on fossil fuels and lowers your carbon footprint.
As solar technology continues to evolve, staying informed about advancements in panels, batteries, and smart controllers will help you refine your setup. Whether you’re powering a weekend camping trip or your entire home, the principles of safety, compatibility, and maintenance remain constant. Embrace the journey of learning and innovation, and let the sun fuel your path toward a greener tomorrow.


