


Imagine losing grid power during a storm while your custom-built energy station hums reliably in the garage—powering refrigerators, medical devices, and lights without missing a beat. DIY power station kits transform this scenario from fantasy to achievable reality, putting energy independence directly in your hands. As electricity costs soar and extreme weather events increase, building your own power solution has evolved from niche hobby to essential skill for prepared homeowners and off-grid enthusiasts alike.
Unlike pre-assembled units with fixed capabilities, DIY kits offer unparalleled freedom to design systems matching your exact energy needs and budget. This comprehensive guide demystifies the process—from selecting components to advanced customization—empowering you to create a robust power source that’s truly yours. Whether preparing for emergencies or building a sustainable energy hub, the journey begins with understanding the core building blocks.
Essential Components: Anatomy of a DIY Power Station
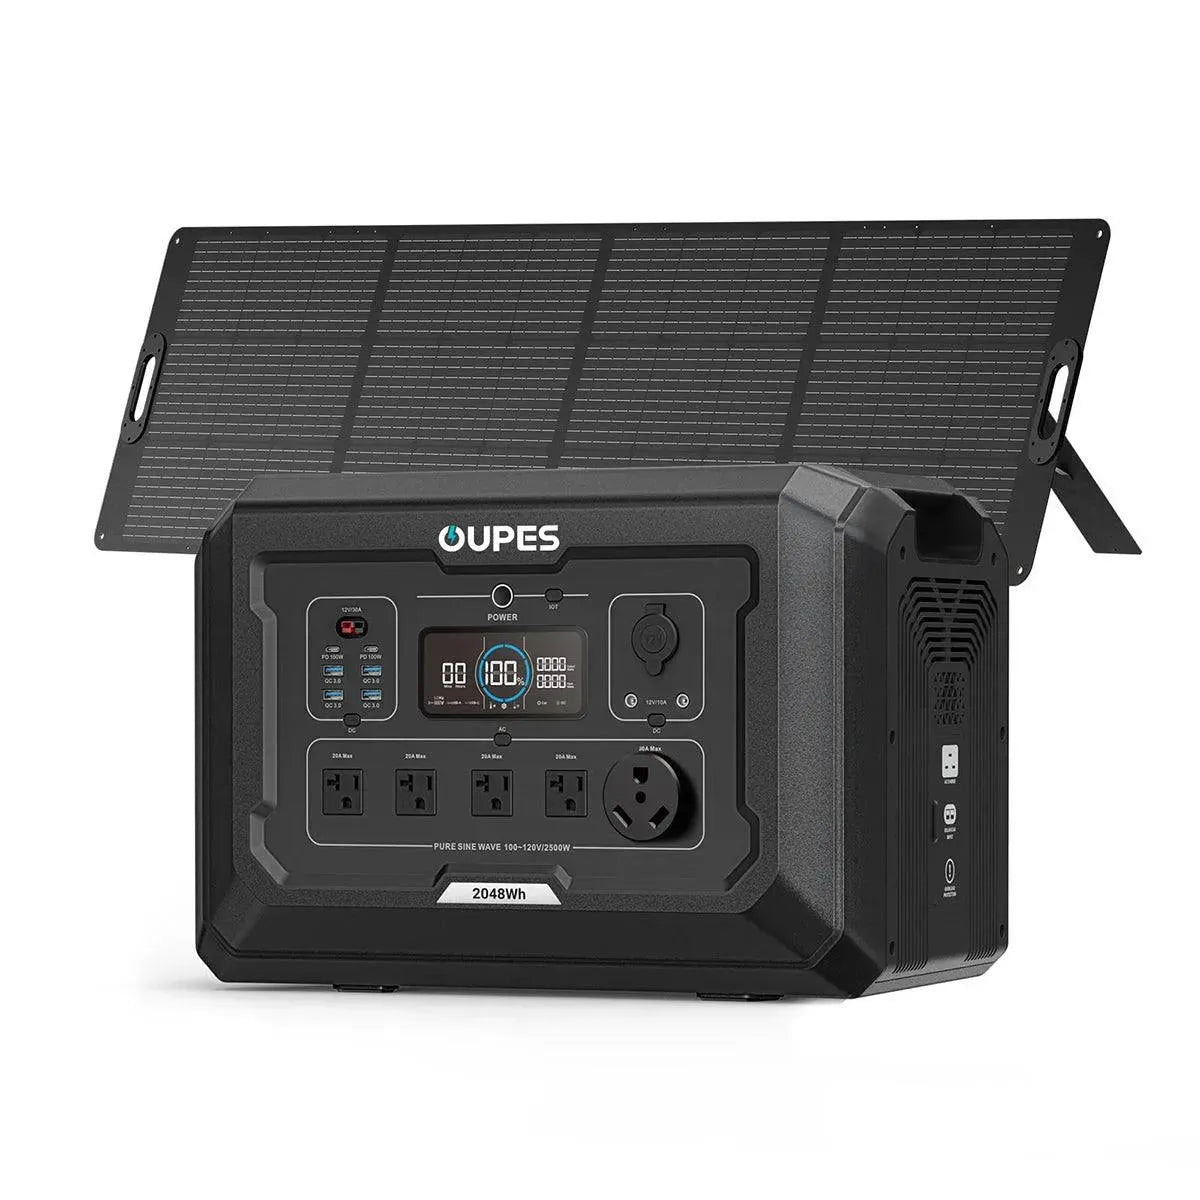
Every DIY power station revolves around five critical components that determine performance and functionality. Batteries form the heart of the system—lithium iron phosphate (LiFePO4) is the gold standard for DIY builds due to its 3,500+ cycle lifespan, thermal stability, and deep discharge capability. A 100Ah LiFePO4 battery stores approximately 1.28kWh, sufficient for basic overnight needs. Inverters convert stored DC power to usable AC electricity; pure sine wave models (2000W-5000W) are essential for sensitive electronics, with low total harmonic distortion (THD) under 3% protecting devices from damage. Charge controllers regulate incoming power—MPPT (Maximum Power Point Tracking) types outperform PWM by 30% in solar harvesting efficiency.
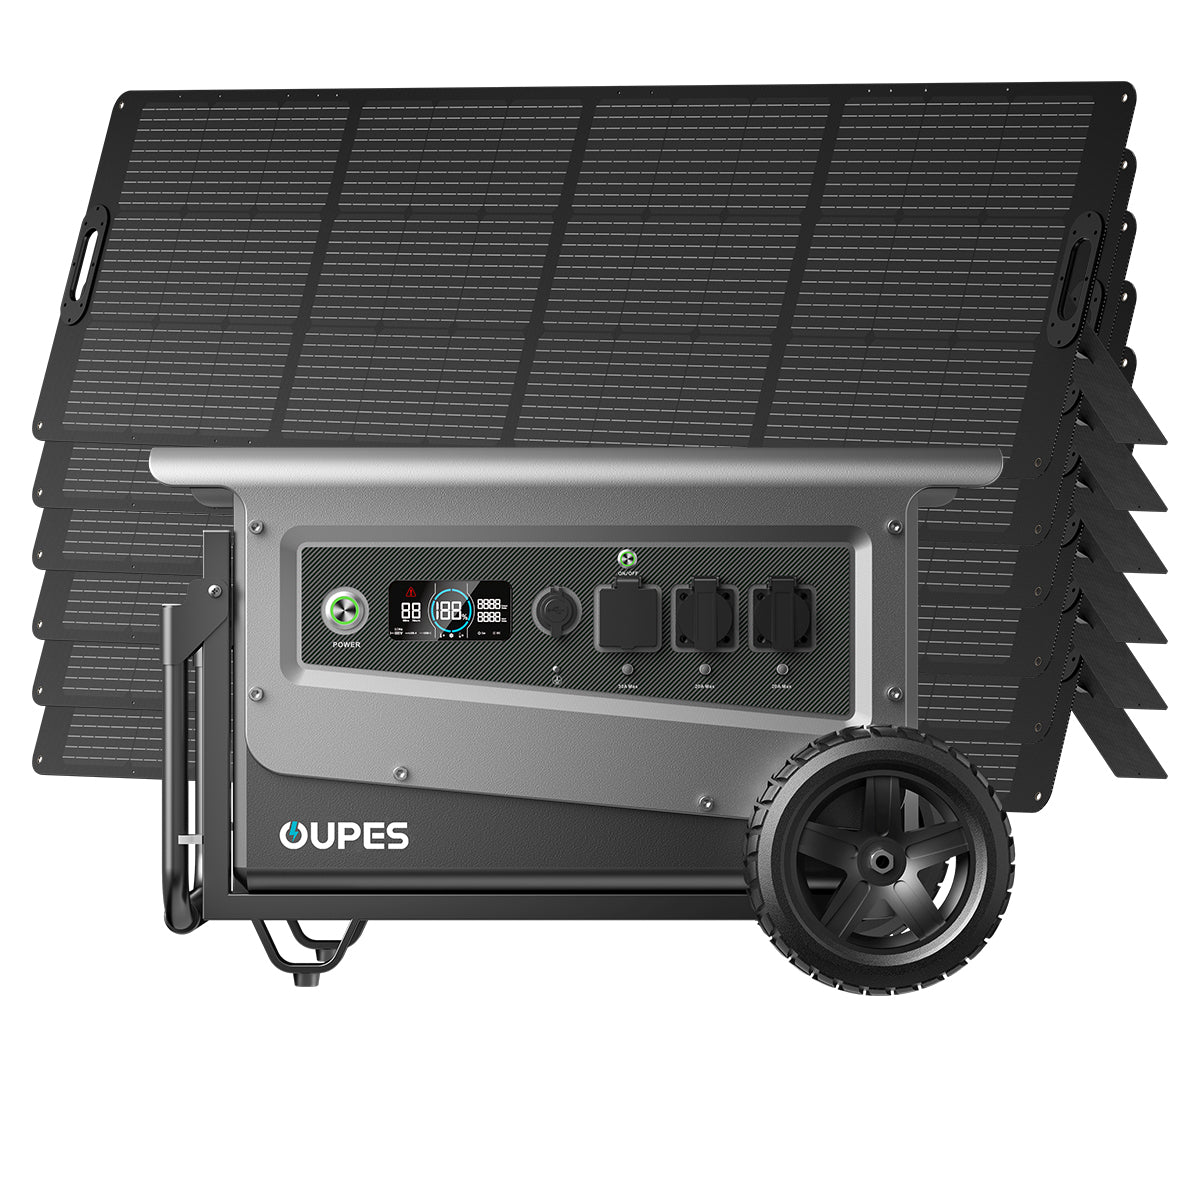
Energy input sources dictate recharging flexibility. Solar panels (300W-800W for typical DIY setups) connect via MC4 connectors, with monocrystalline panels offering 22% efficiency in compact form. Alternator charging kits enable vehicle-based recharging while driving, and dual AC/generator inputs provide backup during low-sun periods. The power distribution unit (PDU) acts as the nervous system—bus bars for clean wiring, circuit breakers for overload protection (critical for lithium batteries), and outlets ranging from USB-C PD ports to RV-style 30A receptacles. Monitoring completes the system; Bluetooth-enabled shunt monitors track state-of-charge within 1% accuracy.
Component synergy determines overall effectiveness. Undersizing wiring causes dangerous voltage drops—4 AWG cables are minimal for 2000W systems. Battery management systems (BMS) prevent catastrophic failures by monitoring cell balancing and temperature. Ventilation planning is crucial; lithium batteries require ambient temperatures between -4°F to 140°F. Quality connectors like Anderson Powerpoles prevent arcing. Budget-wise, expect $800-$1500 for core components excluding solar panels, with batteries consuming 60% of costs. Premium brands like Victron and REC BMS justify their price through programmability and safety margins.
Step-by-Step Assembly Guide: From Parts to Functional Unit
Safety preparation precedes assembly. Equip yourself with CAT III multimeters, insulated tools, and fire-resistant work surfaces. Begin by designing the layout in CAD software or sketching dimensions—allow 2-inch clearance around batteries for cooling. Mount components on a ¼-inch plywood base or aluminum sheet using vibration-resistant fasteners. Start wiring with the battery bank: parallel connections (positive to positive, negative to negative) increase capacity while maintaining 12V/24V. Series configurations boost voltage but demand meticulous cell balancing. Always install fuse holders within 7 inches of battery terminals—200A ANL fuses suit 2000W systems.
Electrical integration follows a specific sequence. First, connect batteries to the BMS, ensuring sense wires align with cell groups. Next, link the BMS to the inverter via appropriately sized cables—copper lugs should be crimped, not soldered. Attach solar charge controller inputs to battery terminals before connecting panels to prevent voltage spikes. Ground the entire system to a common point using 6 AWG wire. For AC integration, install a transfer switch if grid-tie functionality is desired. Test each connection with multimeters: voltage between positive/negative terminals should match battery specs, and resistance between unrelated components should read infinite.
Programming brings the system to life. Configure BMS parameters: set charge voltage limits (14.6V max for 12V LiFePO4), low-temperature charge cutoff (40°F), and cell-balancing thresholds. Calibrate shunt monitors by inputting battery capacity. Test under load incrementally—begin with 500W devices before scaling to full capacity. Validate fail-safes by deliberately triggering overcurrent scenarios. Finalize with weatherproofing if outdoors; use NEMA-rated enclosures and dielectric grease on terminals. Expect 12-20 hours for a polished build. Common pitfalls include reverse polarity connections (use colored tape) and inadequate bus bar sizing—oversize by 25% for headroom.
Advanced Customization: Tailoring to Unique Energy Needs
Scalability separates DIY from commercial units. Start with a 2kWh base (2x100Ah batteries + 2000W inverter), then expand vertically by adding parallel battery modules—up to four LiFePO4 units can share one BMS with balancing. Horizontal expansion involves integrating additional input sources: wind turbines (400W-1000W) complement solar in cloudy regions, while AC/DC converters enable direct EV charging. For whole-home backup, implement automatic transfer switches like the Reliance Pro/Tran 2 that detect grid failure and switch to battery power within 30 seconds.
Smart integration transforms basic systems. Raspberry Pi controllers running SolarAssistant software provide real-time analytics and remote control via dashboards. Integrate with home automation (Home Assistant, Hubitat) to trigger actions—like shedding non-essential loads at 30% battery. Generator auto-start modules activate gas/propane backups during extended outages. For mobile applications, add shock-absorbing mounts and vibration-proof connectors. Unique customizations include DC-DC converters for direct appliance operation (avoiding inverter losses) or specialized outputs like NEMA L5-30R for RV hookups.
Specialized applications demand tailored approaches. Medical device backups require dual-inverter redundancy and UPS functionality. Off-grid cabins benefit from high-voltage (48V) systems reducing wire costs over long distances. Music festivals leverage silent solar power with custom wheeled enclosures. Budget builds utilize second-life EV batteries (Nissan Leaf modules cost $60/kWh) with upgraded BMS. Always prioritize safety: add arc-fault detectors when exceeding 48V and implement temperature-triggered ventilation fans. Document configurations thoroughly—future expansions depend on understanding initial design choices.
Safety Protocols: Avoiding Critical Mistakes
Electrical safety begins with understanding arc flash risks. Lithium batteries store enormous energy—a short circuit in a 100Ah bank releases energy equivalent to a stick of dynamite. Always disconnect batteries before working, use insulated tools, and wear ANSI-rated safety glasses. Implement layered protection: Class T fuses for battery terminals (faster-acting than ANL), DC breakers between components, and GFCI outlets for AC output. Proper grounding is non-negotiable—bond all metal enclosures to an earth ground rod using 6 AWG copper wire.
Battery hazards require specific countermeasures. LiFePO4 chemistry is safer than NMC but still generates explosive gases if overcharged. Install thermal runaway sensors (like those from Batrium) and vent enclosures outdoors. Never exceed 90% depth of discharge—cell degradation accelerates beyond this point. Maintain cells within 32-113°F using thermostatically controlled heating pads or cooling fans. Balance cells monthly; voltage deviations over 0.05V indicate BMS issues. For flooded lead-acid alternatives (still used in budget builds), dedicate well-ventilated spaces due to hydrogen off-gassing.
Fire containment demands proactive design. Build enclosures from 16-gauge steel or fire-rated plywood (Type X gypsum core). Install automatic fire suppression balls above battery compartments—units like the Elide Fire extinguish flames within 5 seconds of ignition. Position stations away from combustibles with minimum 36-inch clearance. Critical maintenance includes quarterly torque checks on connections (vibration loosens terminals) and annual capacity testing. Document emergency procedures: know how to disconnect power rapidly and have Class D fire extinguishers accessible. Insurance considerations are vital—some providers require UL-certified components for coverage.
Cost Analysis: DIY vs. Pre-Built Power Stations
The financial advantage of DIY becomes evident when comparing component-level costs. A 2kWh system with 2000W pure sine wave inverter costs approximately $1,200 self-built using mid-tier components: $600 for LiFePO4 batteries, $300 inverter, $150 MPPT controller, $150 for wiring/enclosure. Comparable pre-built units like the EcoFlow Delta 2 retail for $1,999—a 40% premium. Scaling magnifies savings; expanding to 6kWh costs $1,800 DIY versus $5,500 for pre-built equivalents. Premium features like Victron components add 25% but offer professional-grade monitoring and efficiency.
Long-term economics further favor DIY. User-replaceable batteries extend system life indefinitely—swapping LiFePO4 cells after 10 years costs 60% less than replacing commercial units. Repair accessibility means no $150/hour technician fees; individual components carry separate warranties (often 5+ years). Energy savings accrue through customization: adding high-efficiency DC-DC converters eliminates 15% inverter losses for native 12V devices. Tax incentives like the U.S. Residential Clean Energy Credit apply to DIY solar components, providing 30% back on panel and controller costs.
Hidden expenses warrant consideration. Tools (crimpers, multimeters) add $150-$300 initially. Time investment averages 20 hours for first-time builders. Pre-built units offer plug-and-play convenience valuable for non-technical users. However, DIY delivers unmatched adaptability—upgrading a 2000W inverter to 5000W costs $400 versus $3,000 for new commercial units. Component selection control allows prioritizing critical features: spend extra on marine-grade corrosion resistance for coastal installations or ultra-quiet fans for bedroom backup.
Building your own power station transcends mere cost savings—it cultivates profound energy literacy while creating solutions precisely aligned with your needs. The process demystifies electricity management, transforming users from passive consumers to empowered producers. From selecting each component to programming safety parameters, DIY kits offer unparalleled flexibility that commercial units can't match.
As renewable technology advances, your self-built station evolves with you. Start with a simple backup system, then expand into whole-home power or mobile applications. The knowledge gained becomes your most valuable tool—ensuring that when storms rage or grids fail, your lights stay on through the power of your own hands and ingenuity.