


Learning Center - OUPES

Welcome to OUPES Learning Center

Basic Electricity
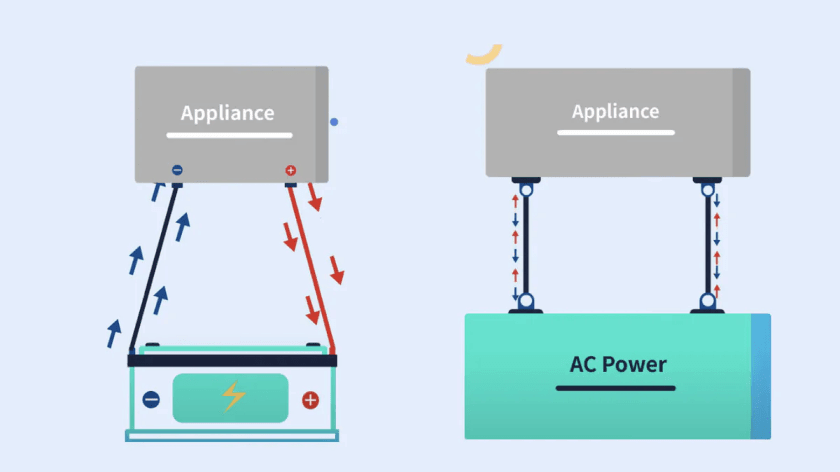
1. What is Direct and Alternating Current?
Apr 15, 2024
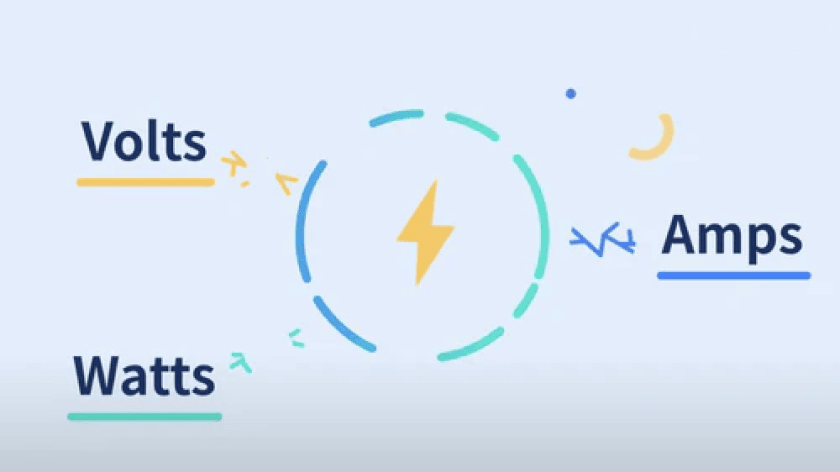
2. What are Volts, Amps, and Watts?
Apr 15, 2024
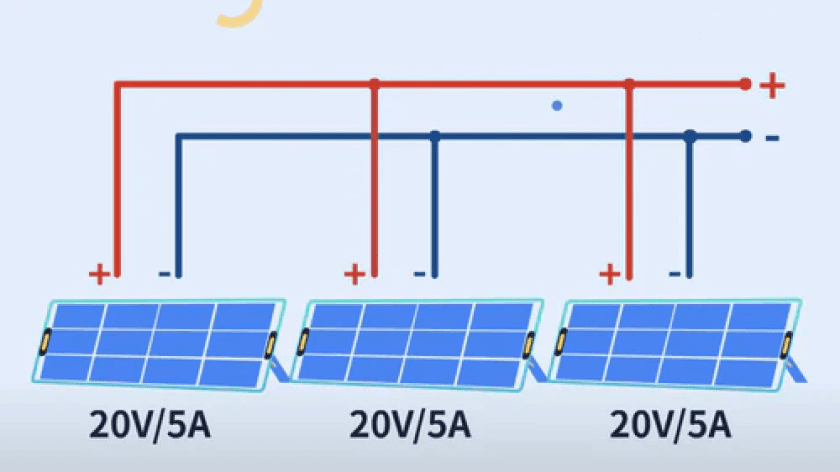
3. What is Parallel and Series Connection?
Apr 15, 2024
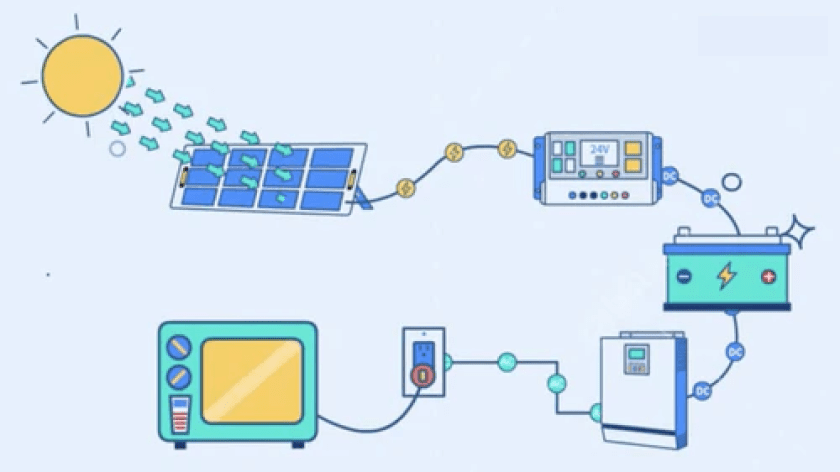
4. The Main Parts of A Solar System
Apr 15, 2024
Buying Guides
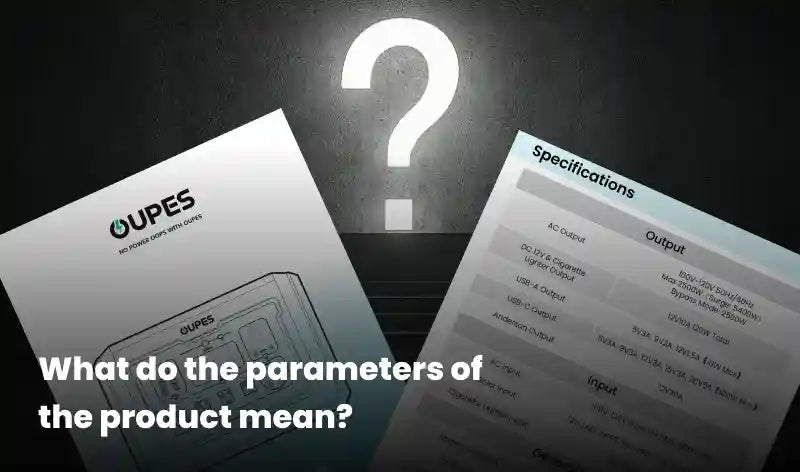
What Do The Parameters Of The Product Mean?
Jun 13, 2025
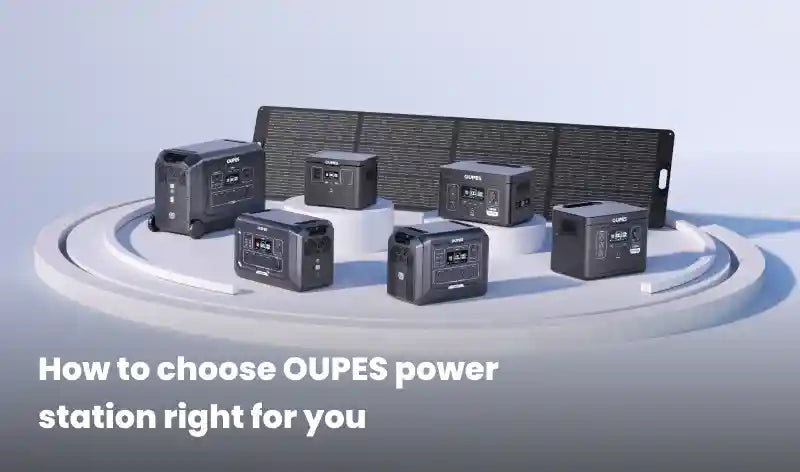
How To Choose OUPES Power Station Right For You
May 21, 2025

Knowledge

How Do Portable Solar Generators Work?
Mar 3, 2025


What Is The Best Solar Generator For Camping?
Apr 21, 2025


