


Imagine never having to worry about a blackout again. A portable energy source you built yourself, powered purely by sunlight, sitting ready to charge your devices or run your essentials. Whether you're preparing for emergencies, heading off-grid, or just passionate about sustainable energy, building your own solar generator can be both empowering and practical. This guide walks you through every critical step in creating a custom solar generator—from understanding the core components to ensuring safe assembly.
Understanding the Core Components of a Solar Generator
Before diving into assembly, it's crucial to grasp the basic parts that make up a solar generator. At its heart, a solar generator consists of four primary components: a solar panel, a charge controller, a battery, and an inverter. Each plays a distinct role in harnessing and converting solar energy into usable power.
The solar panel captures energy from the sun and converts it into direct current (DC) electricity. The size and wattage of your panel will determine how fast your battery can recharge. Common portable panels range from 100W to 400W, depending on your energy needs and available sunlight.
The charge controller acts as the brain of your system. It regulates voltage and current coming from the solar panels to prevent overcharging the battery. MPPT (Maximum Power Point Tracking) controllers are highly efficient and recommended for more advanced or high-wattage setups.
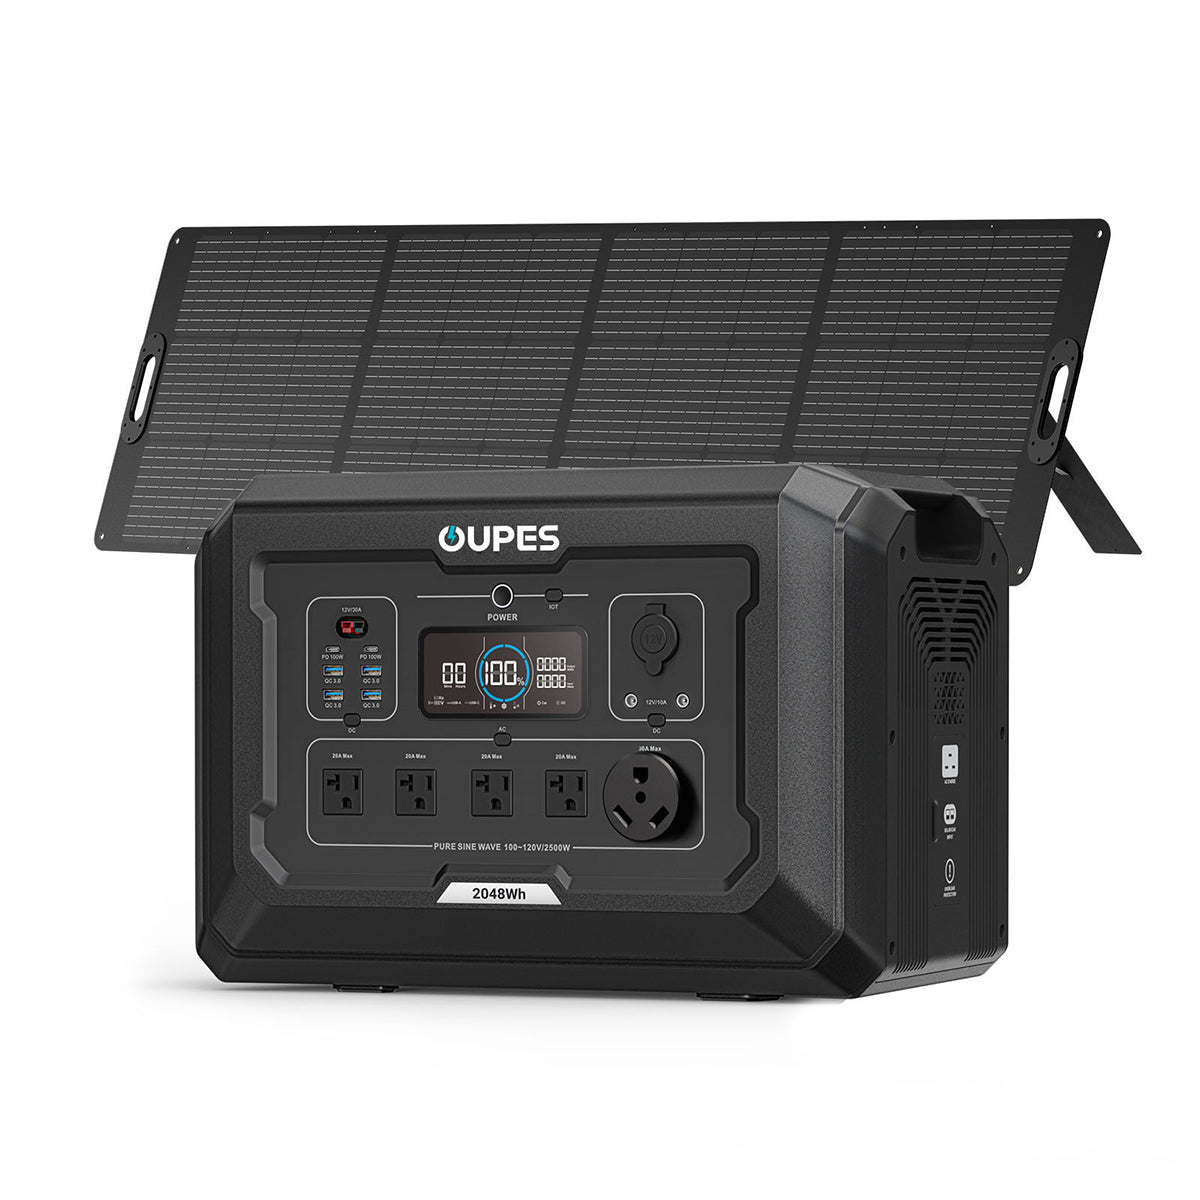
The battery is where energy is stored for later use. Lithium iron phosphate (LiFePO4) batteries, like those found in OUPES generators, are lightweight, durable, and long-lasting—making them a great choice. Lead-acid batteries are cheaper but heavier and less efficient.
Finally, the inverter converts the DC electricity stored in the battery into alternating current (AC), which powers most household appliances. Choosing a pure sine wave inverter ensures compatibility with sensitive electronics like laptops or medical devices.
Choosing the Right Specifications for Your Needs
Every solar generator build should be tailored to your specific power needs. Start by identifying the devices you want to run and their power consumption in watts. Are you powering lights and a phone, or do you need to run a mini-fridge or space heater?
Once you have a list, calculate the total watt-hours (Wh) you'll need per day. Multiply each device’s wattage by the number of hours used daily. Add up the total and include a 20–30% buffer for efficiency losses and cloudy days.
For example, a phone charger (10W) used for 2 hours and a laptop (60W) for 4 hours totals 10×2 + 60×4 = 260Wh. A 500Wh battery would suffice with plenty of room to spare. If you plan to use devices during charging, opt for higher capacity.
Next, match your solar panel to your energy demands. A 100W panel produces about 300Wh per day in full sun, so if your daily needs are 500Wh, you’ll want at least 200W of panels to comfortably recharge the battery daily.
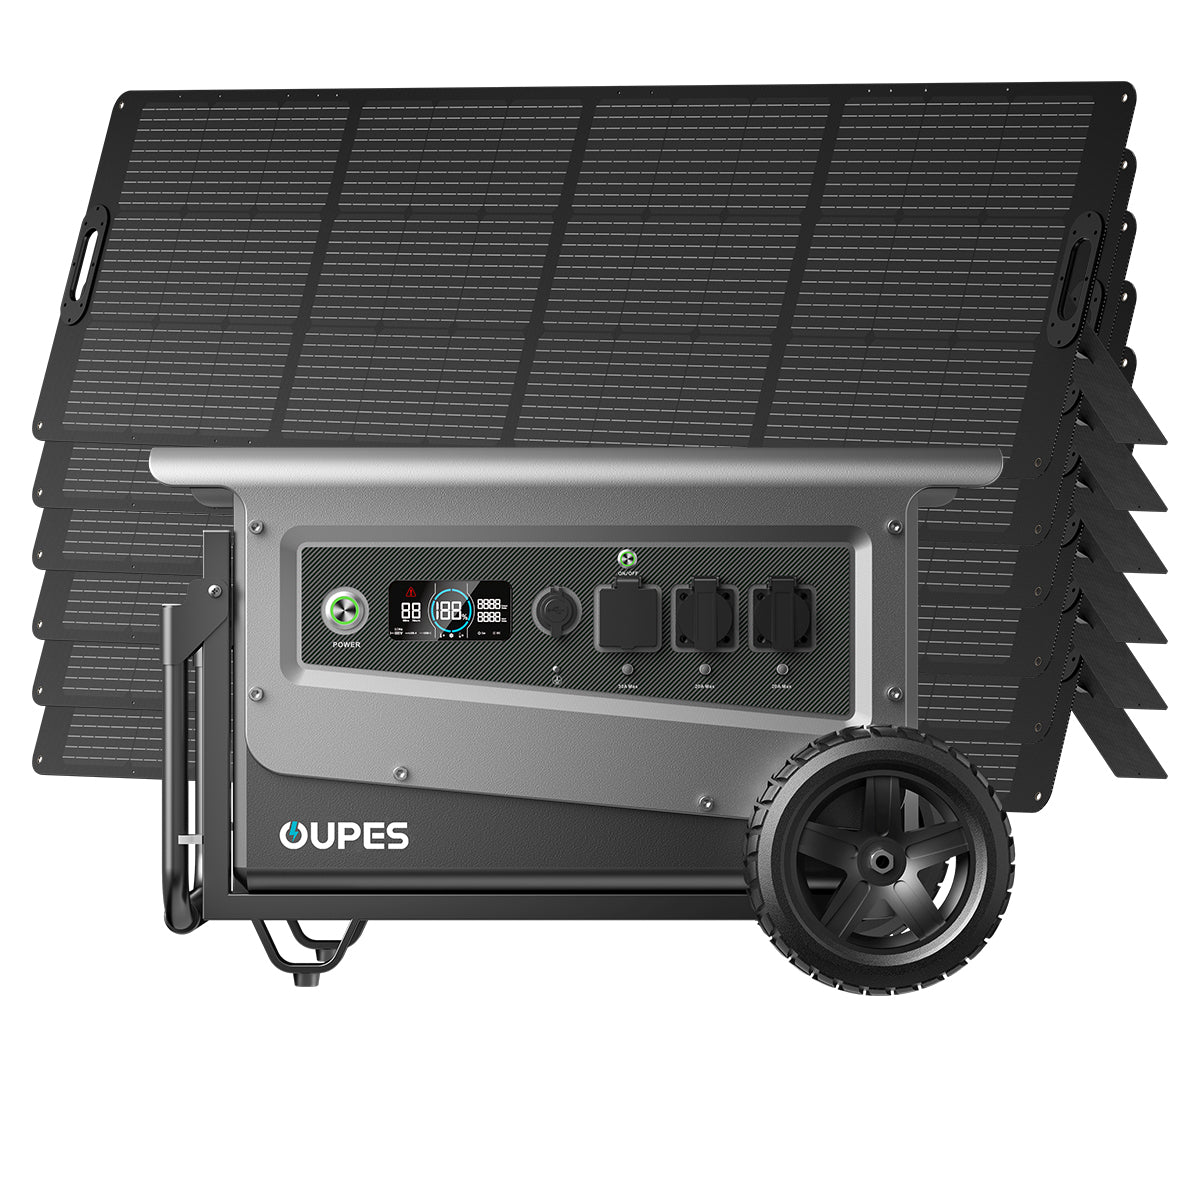
OUPES offers modular solutions that allow for battery expansion and scalable solar input, which is helpful if you plan to increase usage later. Always think a step ahead in system design.
Assembling the Generator Step by Step
With components chosen and requirements defined, you can now begin assembly. Start by mounting your solar panel in an open, sun-rich location. Use adjustable tilt mounts if you plan to maximize solar input throughout the seasons.
Next, wire the solar panel to the charge controller. Be sure to use cables rated for solar applications, and follow the correct polarity. Most charge controllers have labeled terminals: PV+ and PV- for the panel, BATT+ and BATT- for the battery.
Once the controller is connected to the solar panel, wire the battery into the controller. Make sure the battery’s voltage matches the controller’s capacity. Always connect the battery before connecting the panel to avoid power surges.
After securing the battery connection, wire the inverter directly to the battery terminals. Again, observe polarity. The inverter should have both input terminals and standard output plugs or USB ports for device connection.
At this point, your system is live. The solar panel charges the battery, which stores energy for use through the inverter. You now have a functional, self-built solar generator. You can house all components in a weatherproof box or portable case for easy transport.
Safety, Maintenance, and Expansion Tips
Safety should never be overlooked when dealing with electricity. Always use appropriately rated fuses between components to prevent short circuits or overloads. A battery management system (BMS) can monitor charge levels and temperature for lithium-based batteries.
Use insulated tools, and avoid working in wet conditions. Label all wires and double-check polarity before powering on the system. If unsure, consult a professional or reference manufacturer manuals for each component.
Routine maintenance includes checking connections, cleaning solar panels, and monitoring battery voltage. Even the best batteries degrade over time—LiFePO4 can last over 3,000 cycles with proper care, while lead-acid may start declining after just 500–700 cycles.
If you need more power, consider expansion. You can add more solar panels in parallel to increase charging speed or more batteries for greater capacity. Ensure your charge controller and inverter are rated to handle increased input/output loads.
OUPES offers plug-and-play expansion battery options and solar panel bundles, making upgrades simpler for beginners and experienced users alike.
When to Build vs. Buy: Making the Right Choice
Building your own solar generator offers customization, learning, and potentially cost savings. But it’s not always the best option for everyone. Consider whether you have the time, tools, and technical confidence for the job.
DIY systems require research and troubleshooting, but allow you to tailor features exactly to your use case. Want to prioritize portability? Include wheels or handles. Want an off-grid power station for a cabin? Size it for weeklong use without sun.
On the other hand, buying a pre-built system like an OUPES solar generator can save significant time and effort. These units are professionally designed, safety-tested, and often come with customer support and warranties. They’re also more compact, with integrated interfaces and displays for easier operation.
If you’re just starting out or need power immediately for emergencies, a reliable plug-and-play model is a wise investment. However, if you enjoy building things, want to save money in the long term, and prefer customization, DIY is a fulfilling route.
Ultimately, the best solution depends on your comfort level, budget, and power needs. Both options can deliver sustainable energy independence—just by different paths.
Conclusion: Powering Your Life with the Sun
Building your own solar generator can be a rewarding project, giving you independence, emergency readiness, and a deeper understanding of renewable energy. With the right parts and careful planning, you can assemble a powerful system that meets your daily needs—whether you’re camping off-grid or preparing for outages at home.
For those seeking convenience or professional-grade performance, high-quality solutions from OUPES offer plug-and-play reliability without sacrificing power or features. Whether you build your system from scratch or buy one ready-made, the sun is a powerful ally in your journey toward energy freedom.