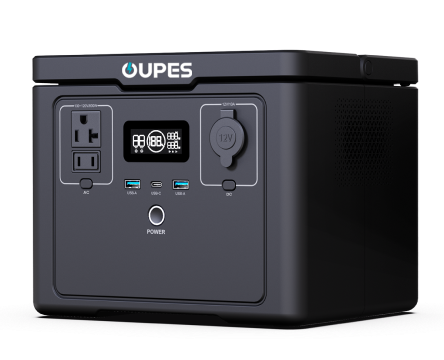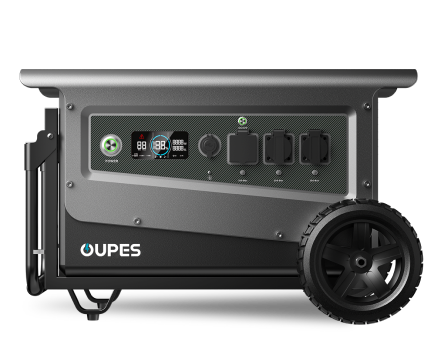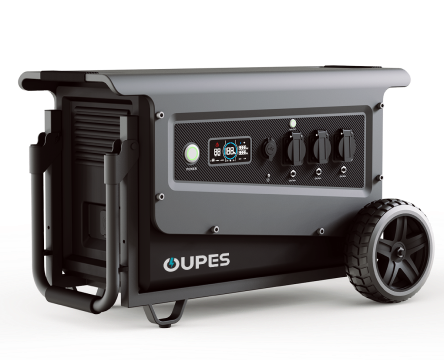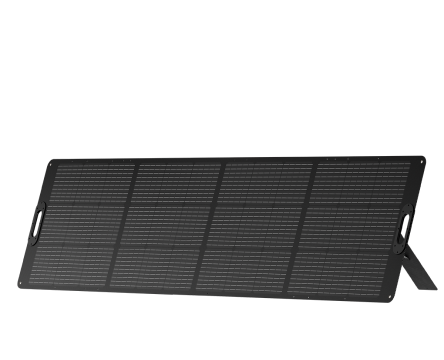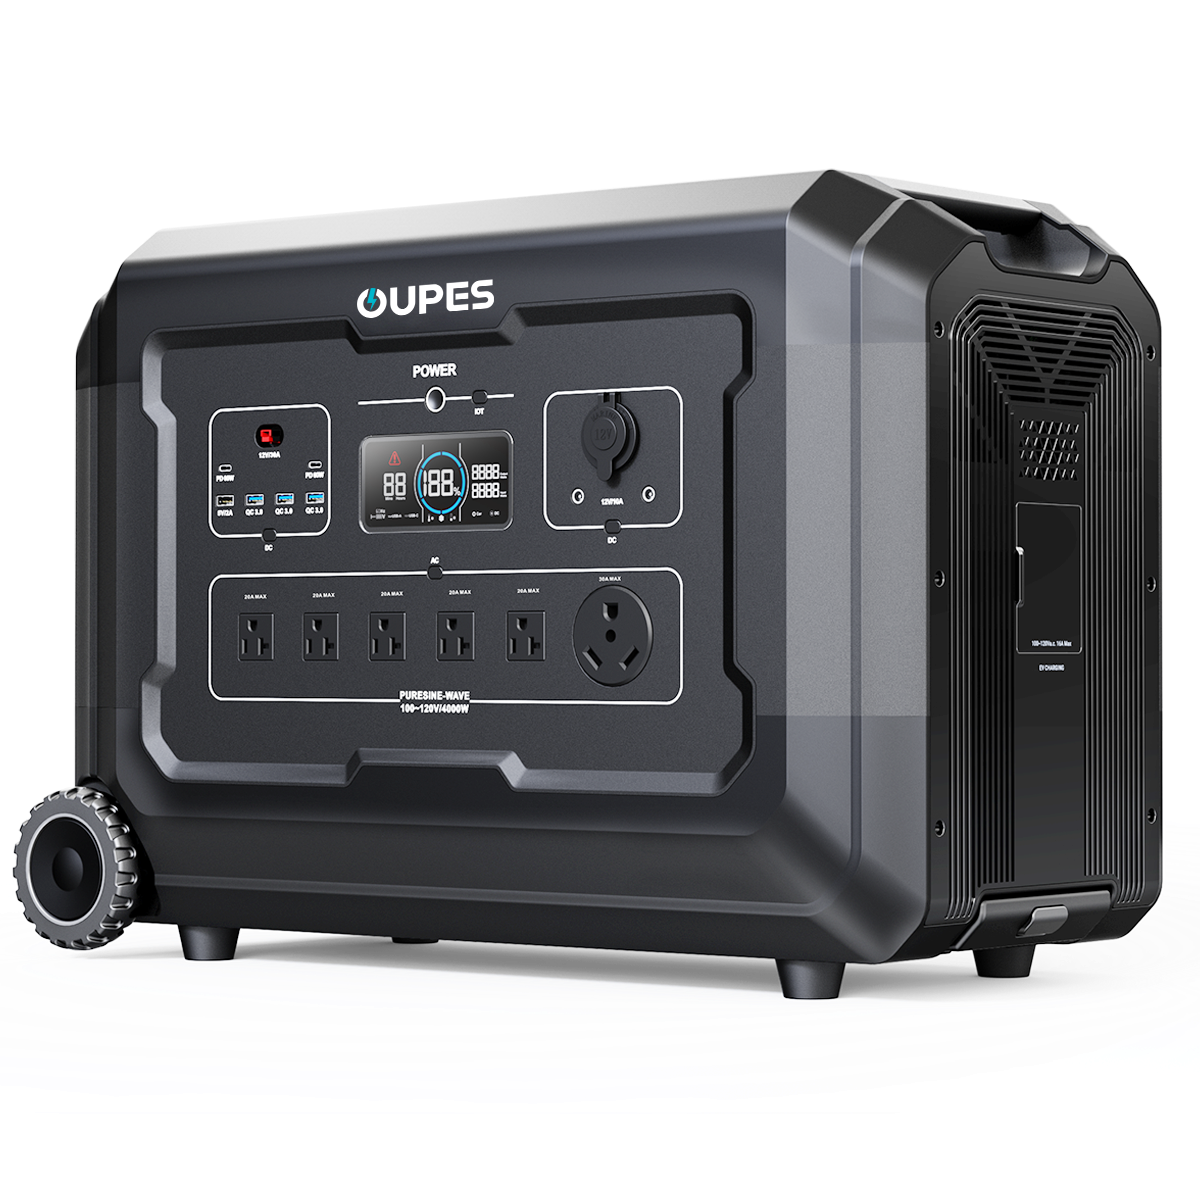
Harnessing the sun’s power to charge batteries isn’t just an eco-friendly solution—it’s also one of the most cost-effective ways to generate and store energy off-grid. Whether you’re preparing for a camping trip, living in a remote area, or simply looking to reduce your electricity bill, learning how to charge a battery with solar panels opens up a world of possibilities.
Solar charging might seem complex at first, but it’s surprisingly approachable once you understand the basic components and how they interact. With the right setup and knowledge, you can reliably charge anything from a phone to a full-sized battery bank using only the sun.
In this article, we’ll walk you through everything you need to know to confidently and safely charge a battery with solar panels—no technical degree required.
Understanding the Basic Components of a Solar Charging System
Before you can effectively charge a battery using solar panels, it’s important to understand the basic components involved. A complete solar charging setup typically includes solar panels, a charge controller, one or more batteries, and often an inverter (if you need AC power). Each component plays a critical role in ensuring your system works efficiently and safely.
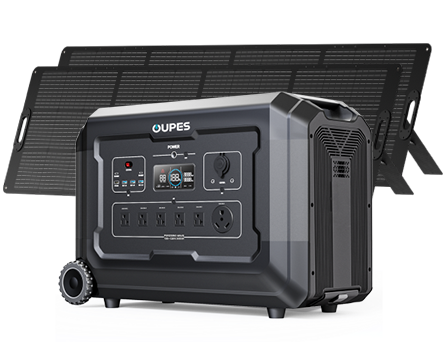
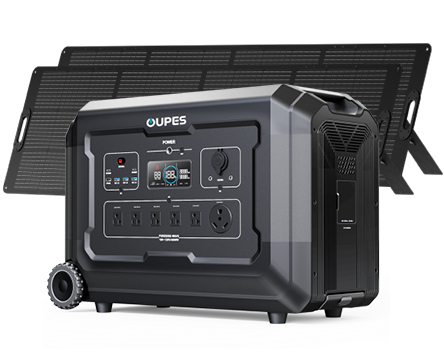
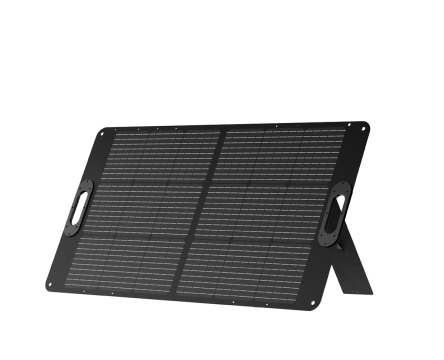
Solar panels are the first step in the chain. They capture sunlight and convert it into Direct Current (DC) electricity. The amount of electricity produced depends on the panel's wattage, efficiency, and sunlight availability. Panels come in various sizes, from small 10W panels for mobile devices to large 300W+ panels for homes or RVs.
The charge controller is essential for regulating the voltage and current coming from the solar panels before it reaches the battery. Without this component, you risk overcharging or damaging your battery. There are two main types: Pulse Width Modulation (PWM) and Maximum Power Point Tracking (MPPT). MPPT controllers are more efficient, especially in varying light conditions.
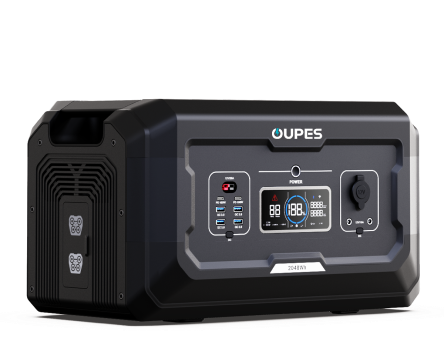
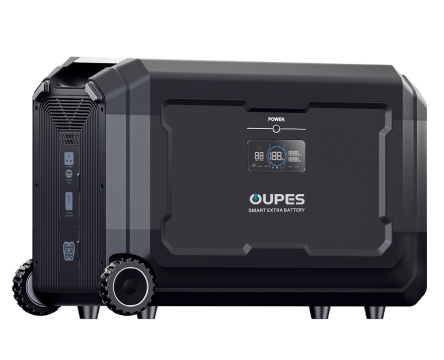
Your battery is where the energy is stored. There are many types of batteries used in solar systems, including lead-acid (AGM, Gel), lithium-ion, and LiFePO4. Each type has unique charging requirements, so it's critical to match the charge controller’s settings to the battery specifications.
In cases where you need to power AC appliances, an inverter is used to convert the DC output from the battery into AC electricity. This is optional if you’re only using DC-compatible devices.
By understanding these components and how they fit together, you’ll be better equipped to build a safe and effective solar charging setup tailored to your energy needs.
Choosing the Right Battery and Solar Panel Pairing
One of the most crucial decisions in setting up a solar charging system is selecting the right battery and matching it appropriately with your solar panel. This ensures not only efficient energy transfer but also long-term system reliability and safety.
Start by determining your energy needs. Consider what devices you plan to power, how long they’ll run each day, and their wattage. This helps calculate the total watt-hours you’ll need, which directly informs your battery capacity and panel size.
For example, if you need 1000 watt-hours of energy per day and plan to charge that in 5 hours of good sunlight, you’ll need solar panels that provide at least 200 watts. Then, you’ll require a battery (or battery bank) capable of storing at least 1000Wh—about 83Ah for a 12V battery.
Lithium batteries, especially LiFePO4, are highly recommended for solar applications due to their higher efficiency, deeper discharge ability, longer lifespan, and lighter weight compared to traditional lead-acid batteries. They also tolerate faster charging and are more stable in temperature extremes.
When pairing panels and batteries, voltage compatibility is key. Most small systems use 12V or 24V setups. Make sure your panel’s output voltage (typically between 18–22V for a 12V system) matches the requirements of your charge controller and battery bank.
In larger setups, connecting multiple solar panels in series or parallel allows you to scale power output. However, be mindful that series connections increase voltage while parallel connections increase current—both have implications for your charge controller and safety protocols.
Ultimately, a well-matched battery and solar panel combo is the cornerstone of a reliable and efficient system. Take time to calculate your energy needs, and always follow manufacturer recommendations to avoid mismatches.
Using a Solar Charge Controller: Why It's Essential
A solar charge controller is often called the “brain” of a solar charging system—and for good reason. Its primary function is to manage the flow of electricity from the solar panels to the battery, ensuring that your battery charges safely, efficiently, and without damage.
When sunlight hits your solar panels, they can produce voltage and current levels far exceeding what your battery can safely handle. Connecting panels directly to a battery without a controller can result in overcharging, overheating, or even battery failure. The charge controller prevents this by regulating voltage and current to optimal levels.
There are two main types of charge controllers: PWM (Pulse Width Modulation) and MPPT (Maximum Power Point Tracking). PWM controllers are simpler and more affordable but less efficient, particularly when solar panel voltage significantly exceeds battery voltage. MPPT controllers, on the other hand, constantly track the optimal voltage and current (the "maximum power point") to maximize energy harvest—sometimes by 20–30% more than PWM.
Most charge controllers also offer essential safety features. These include low-voltage disconnects (to prevent battery over-discharge), reverse polarity protection, short-circuit protection, and temperature compensation. Some models come with digital displays or Bluetooth connectivity, allowing you to monitor system performance in real-time via an app.
When choosing a controller, consider your panel’s output and battery size. Make sure the controller’s rated amperage and voltage can handle your system’s peak input. For example, a 20A controller with a 12V battery setup can handle up to 240W of solar input (12V x 20A).
Never skip the charge controller—it’s the component that keeps your battery healthy and your system running smoothly for years to come.
Step-by-Step: How to Charge a Battery With Solar Panels
Now that you understand the core components, let’s walk through the actual process of charging a battery using solar panels. This guide assumes you're working with a basic 12V setup with a solar panel, charge controller, and battery.
Step 1: Position the Solar Panel
Place your solar panel in a location with direct sunlight exposure. Angle it according to your geographical location for maximum solar input. A tilt angle equal to your latitude usually works well. Use mounting brackets for permanent setups or portable stands for mobility.
Step 2: Connect the Charge Controller to the Battery
Always connect your charge controller to the battery first, not the panel. This activates the controller and sets its reference voltage. Use appropriately sized wires with fused connections to prevent damage. Match the battery terminals correctly—positive to positive, negative to negative.
Step 3: Connect the Solar Panel to the Charge Controller
After the battery is connected, hook up your solar panel to the controller. Again, match polarity correctly. Once connected, the controller will begin regulating power from the panel and charging your battery.
Step 4: Monitor Charging Progress
Most charge controllers will display charging status, voltage, current, and battery health. Monitor this data to ensure everything is working correctly. Depending on sunlight conditions and battery size, full charging can take a few hours to a full day.
Step 5: Disconnect Safely (If Needed)
If you need to disconnect your setup, reverse the order—disconnect the solar panel first, then the battery. This prevents voltage spikes or unexpected power surges that can damage components.
Following these steps ensures safe, efficient charging every time you use solar panels to power your batteries.
Tips for Optimizing Charging Efficiency and Battery Lifespan
To get the most out of your solar charging system, it’s important to not just set it up correctly but also optimize for long-term performance. Proper maintenance and a few best practices can make a big difference in charging efficiency and battery lifespan.
Keep Panels Clean and Unshaded:
Dirt, dust, and bird droppings can reduce your solar panel’s effectiveness significantly. Clean the panels regularly with water and a soft cloth. Also, avoid placing them near trees or buildings that can cast shadows.
Use the Right Wire Gauge:
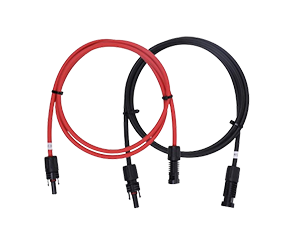
Undersized wires can lead to voltage drops, reducing charging efficiency. Always use the recommended wire gauge for your system's voltage and current. Shorter wire runs also minimize power loss.
Monitor Temperature:
Batteries are sensitive to temperature extremes. High heat can cause battery degradation, while cold temperatures can reduce performance. Consider housing batteries in a temperature-controlled environment, especially in extreme climates.
Set Correct Charge Parameters:
Ensure your charge controller is configured to match your battery’s chemistry. Overcharging lithium batteries, for example, can be dangerous. Some controllers come pre-programmed with profiles, while others let you customize voltage limits.
Don’t Overdischarge:
Avoid draining your battery below the manufacturer’s recommended limit. Deep discharges can drastically reduce cycle life, especially for lead-acid types. Use a controller with low-voltage disconnect settings to prevent over-discharge.
Regular System Checks:
Inspect connections, monitor charging data, and test your battery’s health periodically. Early detection of issues can prevent system failure and extend component life.
With a little care and attention, your solar battery charging setup can operate efficiently for years, providing clean energy wherever you need it.
Conclusion: Powering Up With the Sun
Charging a battery with solar panels is a straightforward yet powerful method of harnessing renewable energy. From understanding system components and selecting compatible gear to following proper setup steps and maximizing efficiency, each part plays a role in building a reliable, sustainable energy solution.
Whether you're powering a camper, an off-grid cabin, or simply preparing for emergencies, solar energy gives you independence and peace of mind. And with solar technology becoming more accessible every year, there’s never been a better time to start using the sun to fuel your energy needs. Armed with this guide, you're well on your way to creating a smart, efficient solar charging system that will serve you well into the future.

