


With the rising costs of electricity and growing concerns about environmental impact, more people are looking for alternative energy solutions. Constructing a solar generator by yourself is an excellent way to get a dependable source of power for emergencies, camping, or everyday use. Rather than buying custom-made portable solar power kits, there is a more cost-effective option that enables you to make one yourself, which means you can design it how you want. This guide will take you through the steps of building a portable solar generator kit that can be assembled at home with ease.
What is a DIY Solar Generator?
A DIY solar generator acts as a “power plant” that transforms sunlight into electricity. It usually contains solar panels, a battery, an inverter, and a charge controller. While fuel-based generators tend to produce noise and emissions and require a lot of maintenance, these systems do none of the above. If you are seeking a portable solar power unit for camping purposes or a backup power supply for your home, creating one can prove to be a wise decision.
Why Build Your Own Solar Generator?
Building a solar generator on your own can save you a lot of money compared to buying one. Also, with all the different parts available to choose from, you can now build a generator which matches your needs perfectly. Furthermore, the do-it-yourself approach gives you a better understanding of the inner workings of the solar system allowing you to perform future repairs or upgrades with ease.
How Can You Build a Solar Generator Yourself?

If you want to build a solar generator kit with panels, be sure to assemble all the necessary parts, connect them, and conduct a functionality test. Here is a list that you can follow to accomplish this check.
How to Select the Right Components?
Before assembling your unique portable solar power kit for camping or home use, it is crucial to identify the proper parts. Choosing the right components guarantees that your system operates effectively while meeting your power requirements.
What Parts and Components You'll Need?
The main components of a solar generator are solar panels, batteries, an inverter, charge controller, and wiring. All components must operate in conjunction to ensure the system works efficiently.
1. Estimate Your Power Requirements
Before you start buying parts for the generator, you must first define how much power they will be consuming. Make a list of all the appliances you wish to use, look up their wattage, and multiply it by the hours you expect to use them. This will assist you in evaluating the required battery capacity and solar panel wattage.
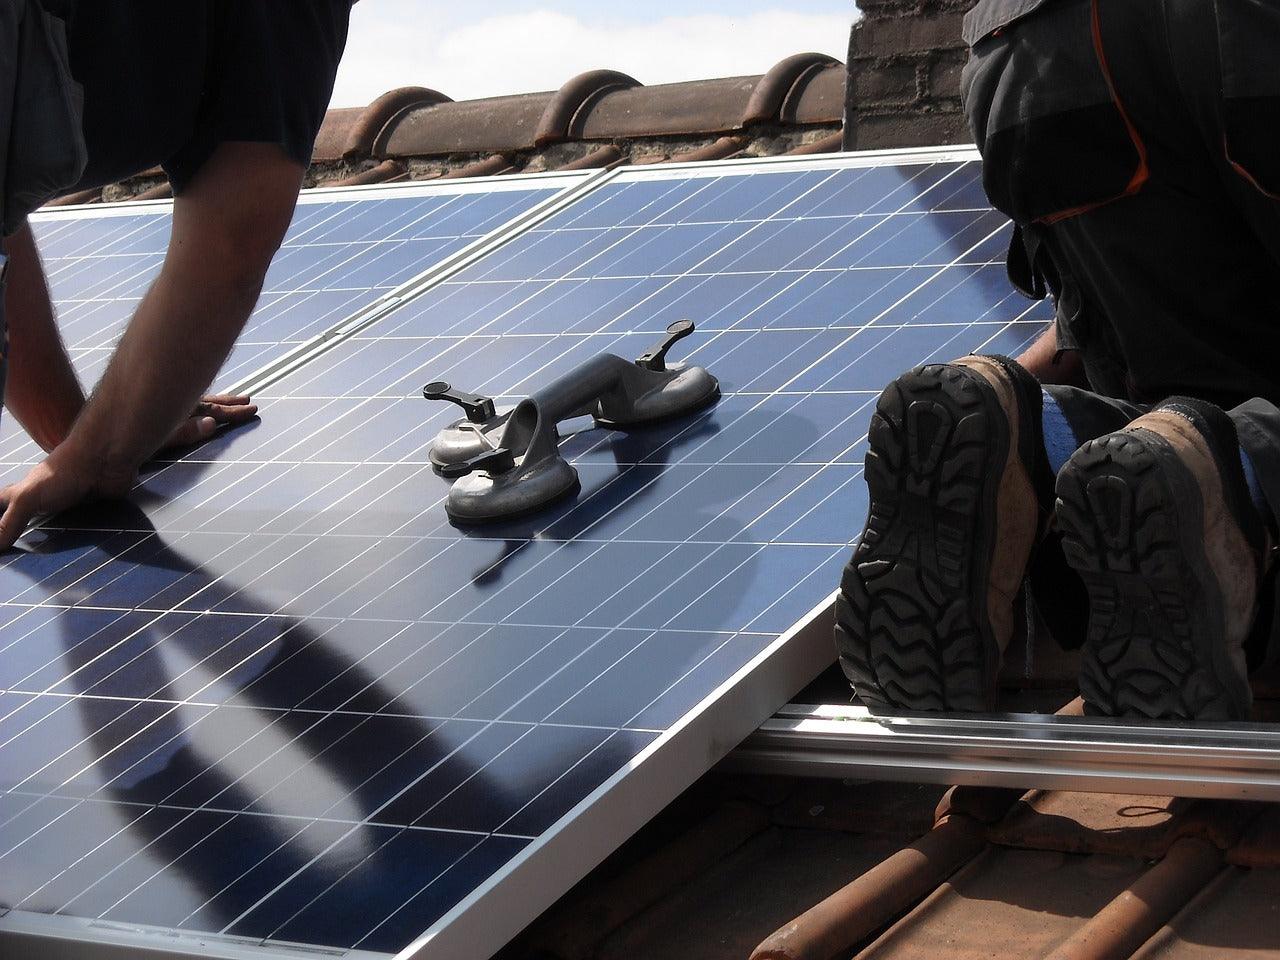
2. Buy a Solar Panel
It is the solar panel that converts sunlight into electrical energy. Electric energy can be generated using specific solar panels, and on purchase, the characteristics such as type, size, and efficiency need to be emphasized. The most efficient and compacted are the monocrystalline, and the less efficient, but more affordable ones are the polycrystalline. The flexible ones are lightweight, portable, and ideal for outdoor activities.
- Monocrystalline panels (high efficiency, expensive).
- Polycrystalline panels (moderate efficiency, more affordable).
- Flexible solar panels (lightweight, portable, but lower efficiency).
3. Select the Battery and Battery Box
A battery stores energy produced from the solar panel to use at a different time. You may select either lithium-ion or lead-acid batteries. Although tougher on the wallet, lithium-ion batteries are lighter, last longer, and are more efficient. On the other hand, lead-acid batteries are more affordable, but need constant maintenance and are heavier. The battery box stores the battery and protects it from the harsher aspects of the environment while organizing the system.
- Lead Acid Batteries – These are more affordable but require upkeep and are heavier.
- Lithium Ion Batteries – Light, affordable, long lasting, however very expensive.
- Battery Box – Provides ease of carrying and protection for the system.
4. Buy a DC Input
A DC input lets you charge the battery using an external power source like a car or an additional solar panel. With a DC input, you have greater assurance that there are alternatives to charging in case sunlight is not available.
5. Buy a Suitable Inverter
An inverter is utilized to convert stored DC power from the battery into AC power needed by most household appliances. Make sure the wattage of the selected inverter is higher than the anticipated peak power consumption. Inverters with a modified sine wave are better for those working on a budget, while pure sine wave inverters are best suited for delicate electronics.
6. Connect Meter and DC Input
To keep track of how your system is operating, install a meter indicating the battery voltage, charging status, and power usage. At this stage, putting in a DC input allows for additional charging flexibility. Correctly wired installations enable the generator to work safely and efficiently.
7. Organize Your Components
After gathering all the parts, try to consolidate them in a way that makes them easy to access. This will help you avoid tangled wires, which can be quite troublesome. Use a robust case or battery box to store all the components for ease of transport and protection.
8. Wire Everything Together
In this step, make connections to all components. Start with the solar panel and connect it to the charge controller. Next, connect the charge controller to the battery. Remember to match the positive and negative terminals. Last step is to connect the battery to the inverter. All connections should be made correctly in order to maintain power efficiency and avoid damage.
9. Test the Parts
Before using your portable solar generator kit, it is vital to conduct a system test to ensure that everything is running as expected. Start by charging the battery using the solar panel and then check whether the charge controller is controlling power flow properly. Thereafter, plug in small devices to make sure that the inverter is functioning. Just in case any part malfunctions, you must review the connections and solve problems before you depend on this system.
Safety Tips to Follow
Safety is an important aspect to consider while building a DIY solar generator as it involves electrical components. Batteries must always be treated with caution, as improper wiring could lead to overheating or short-circuiting. Ensure all wiring has the proper rating for current flow to avoid overheating and never use damaged cables. To prevent overheating, make sure that the inverter and battery are kept in a dry, well-ventilated area. Regularly check for loose connections, and exposed wires that can become a safety hazard.
Is DIY for You?
For those who are good at do-it-yourself projects and want to save some money, constructing a portable solar power kit at home is an excellent choice. However, it will take some time, effort, and rudimentary understanding of electrical systems.
DIY Solar Generator vs. Store-Bought One
The cost of a store-bought solar-powered generator is higher compared to a DIY solar-powered generator. Shop bought solar generators for camping or home use are relatively simple to use, but they come at a steep price, frequently exceeding $1000. In contrast, a DIY system can be built for a few hundred dollars, depending on the components you choose. Store-bought systems can significantly reduce time and effort during the setup process; however, they lack customization. If customization and cost efficiency are what you are looking for, a DIY system is the way to go.
|
Feature |
DIY Solar Generator |
Store-Bought Solar Generator |
|
Cost |
Lower (depends on parts) |
Higher (pre-assembled) |
|
Customization |
High |
Limited |
|
Build Time |
Several hours to a few days |
Ready to use instantly |
|
Technical Skill |
Basic wiring knowledge needed |
No expertise required |
|
Maintenance |
Easy to repair and upgrade |
May require professional servicing |
Final Thoughts
Creating your own solar generator is a great way to utilize a clean source of energy and save some money in the long term. You can create an efficient portable solar power kit with the right selection of components and by putting them together in the right way. Such a system can be employed in emergencies, camping, or even just to reduce electricity bills, making DIY options versatile while providing long term savings. If you want an effective and budget-friendly power source that suits your needs, it can undoubtedly be done with the right steps implemented.
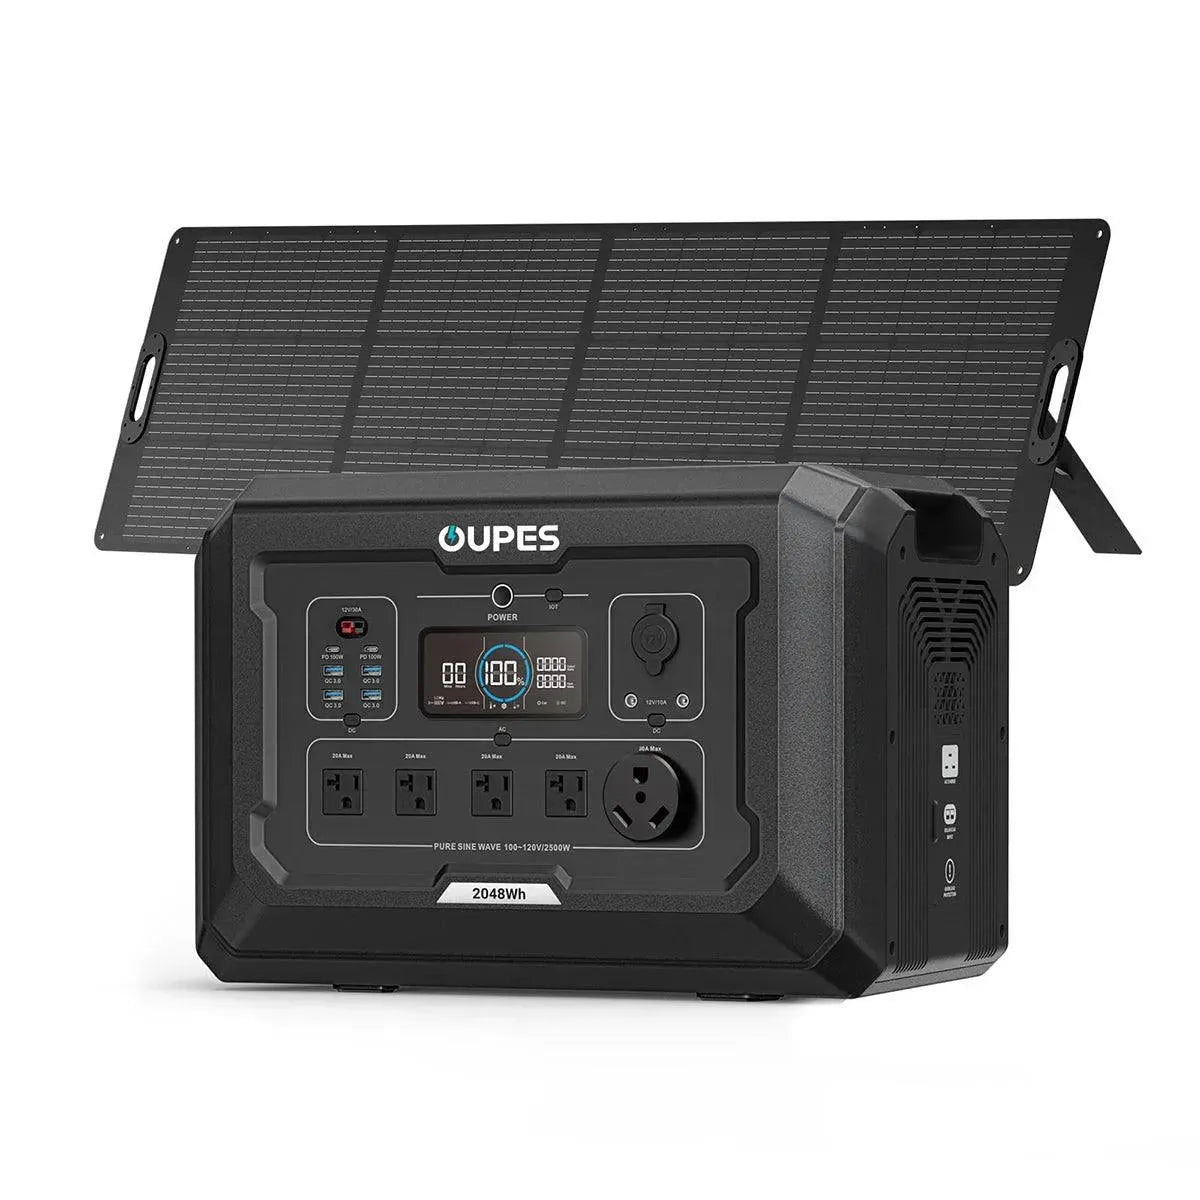
DIY is cool, but doing a DIY isn’t everybody’s game, this is where OUPES come in to save the day. You can explore a wide range of portable solar generators here.
FAQs
Why are people switching to solar generators?
People are increasingly switching to solar generators for fuel-free clean and renewable energy. They also help lower electricity costs, noise pollution, and require less maintenance.
What type of battery is best for a solar generator?
As with most gadgets, lithium-ion batteries are the most suitable here as they are the most efficient, lightweight, and have a longer service life. Lead-acid batteries are cheaper, but heavier, so they require more maintenance.
How long does a DIY solar generator last?
It can last anywhere between 5 to 10 years depending on the battery type and maintenance practices. Lithium-ion batteries last longer than lead-acid ones.
Can I expand my DIY solar generator later?
This is possible by adding more solar panels, upgrading the battery, or using a bigger inverter. Just make sure that your charge controller, along with the wiring, is capable of accommodating the new additions.

Leave a comment
This site is protected by hCaptcha and the hCaptcha Privacy Policy and Terms of Service apply.