


Thinking of switching to solar energy? It is a good choice for homeowners who want to save on energy bills and use a cleaner source of energy. But, how do you install it? Do you hire professionals or test your DIY Skills? Whichever you choose, knowing about the process can make life much easier. This solar panel setup guide will take you through everything that you must know- from planning to powering up your home.
Why Choose Solar Power?
Before we go to installation, it is useful to understand why many people are opting for solar energy. The reasons are straightforward:
● Lower electricity bills: When the system is up and running, you will not depend so much on the grid.
● Cleaner energy: Solar panels generate power without emission of harmful substances.
● Increase home value: Homes that have solar systems are usually more appealing to buyers.
● Incentives and rebates: Various governments provide financial assistance in order to make solar affordable.
Now that we know how important solar can actually be for our houses, let’s talk about how we can install it.
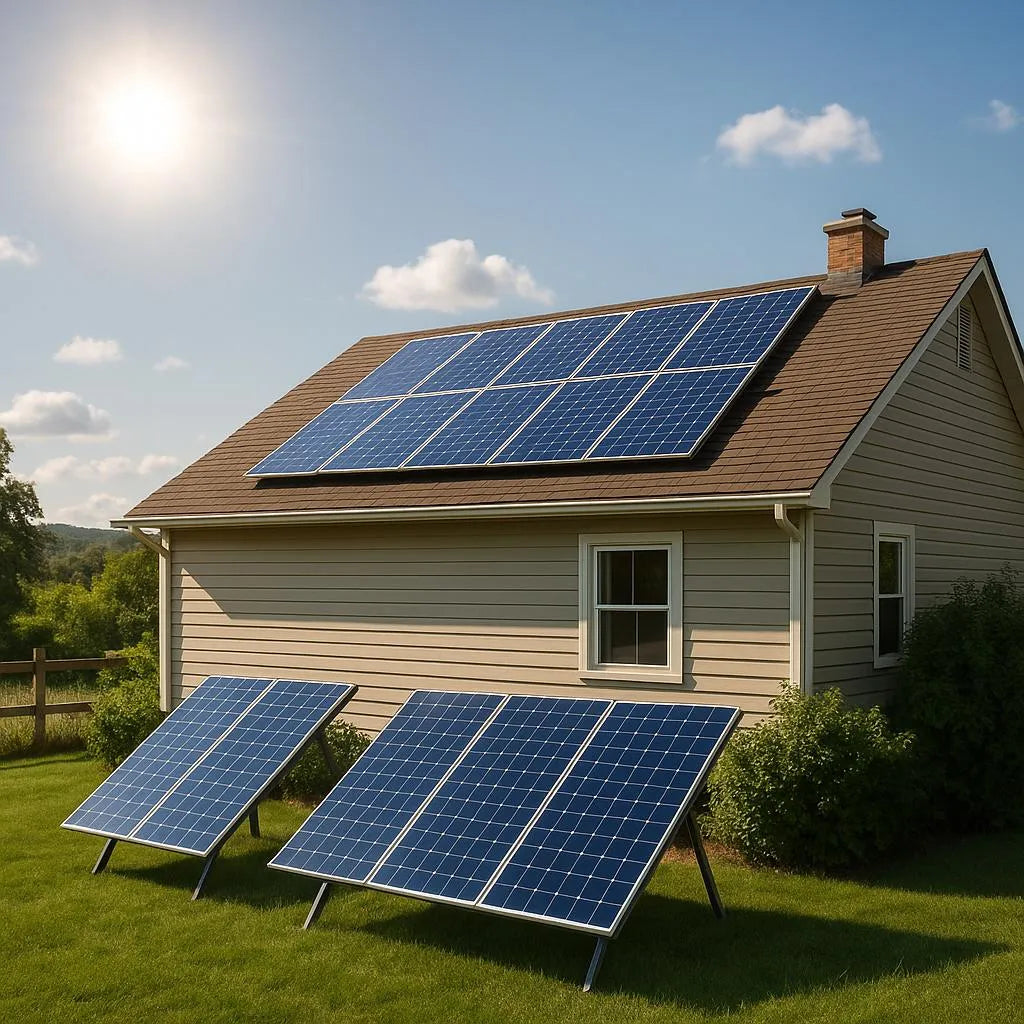
Step 1: Check Your Home's Solar Potential
How Much Sunlight Does Your Roof Get?
First of all, you need to make sure that there is enough direct sunlight in your area. Roofs that are facing south (in the northern hemisphere) are most often exposed to the sun. Ensure that there are no tall trees, buildings and chimneys that block the sun for long periods.
There are a variety of solar mapping tools which can be used online to provide you with an approximate guess of what your roof’s solar potential is. These tools measure the amount of sunlight that falls on your place annually.
Step 2: Understand Your Energy Needs
Take a look at your electricity bills for the past one year. Determine the average monthly consumption in kilowatt-hour (kWh). This is the figure that tells you the ideal amount of electricity your solar system should make.
To give you an idea, if your house uses 900 kWh every month, your system should be able to supply nearly that.
Step 3: Decide Between DIY Solar Installation and Professional Help
There are two ways of installing a solar system. DIY approach or hiring the experts. They both have their advantages and disadvantages.
DIY Solar Installation
Doing it yourself will be cheaper when it comes to labor and you will have total control over the project. Nevertheless, it takes time, technical skills, and knowledge of how to work safely on the roof.
DIY is more appropriate in small configurations such as off-grid cabins or back-up systems. For bigger and grid-connected systems, you will also have to deal with permits and inspections.
Professional Solar Installation
It becomes easier if one hires a licensed installer. Professionals handle design, permits, installation as well as grid connection. It is more expensive initially, but it saves time and makes the system safe and efficient.
If you are a novice to solar, then dealing with the experts may be the wiser decision.
Step 4: Choose the Right Solar Equipment
Types of Solar Panels
There are mainly three types:
● Monocrystalline: More efficient and more pleasing to look at but at a higher price.
● Polycrystalline: Cost-effective, but slightly less efficient.
● Thin-film: Lightweight and flexible – suitable for special applications.
Inverters
Your home utilizes Alternating Current (AC), however, solar panels produce direct current (DC). Inverters serve the purpose of converting DC into AC. The choice is yours:
● String inverters: One inverter for all panels.
● Microinverters: One inverter for each panel (more efficient but more expensive).
● Power optimizers: Combine benefits of both systems.
Mounting System
Choose between:
● Roof-mounted: Most common, saves space.
● Ground-mounted: Easier to clean and adjust, but requires yard space.
Step 5: Get the Necessary Permits and Approvals
Either if you’re doing a DIY solar installation, or hiring a company, permits are necessary. You may need approval from:
● Local building authorities
● Electrical safety departments
● Your grid-connecting utility company (for grid connection)
Skipping over permits can result in paying fines or being asked to take the system down later.
Step 6: Install the Solar Panels
Roof Preparation
Begin by marking out the position of each panel. Ensure that the mounting racks are fixed well on the roof rafters. This is helpful for the system to remain in place even when the winds are strong.
Mount the Panels
Secure the panels on the racks using bolts. Wire them up as per the layout. If you are using a string inverter, connect all the panels in series. Connect each panel directly using the microinverters.
Wiring and Inverter Setup
Route the wires to your inverter, and connect the inverter to the electrical panel of your house. You might have to install a new breaker to support the solar input.
At all times, adhere to electrical codes, or best of all, hire a licensed electrician to do this part.
Step 7: Inspection and Grid Connection
After the installation, a local inspector will inspect the system. This makes it adhere to safety standards. Once you get the green light, your utility provider will permit you to hook on to the grid.
In some areas, there is net metering and you are rewarded for additional electricity that you send back to the grid. This further helps to cut down on your power bill.
Step 8: Monitor and Maintain Your System
New systems have monitoring tools which can monitor the amount of power you generate. Daily and monthly performance can easily be seen in apps or online dashboards.
Maintenance is simple:
● If the panels are dirty, clean them once in a few months.
● Inspect wiring and mounts once or twice in a year.
● Watch out for inverter alerts for any problems.
Most systems can last 25 years or more with very little maintenance.
Tips for a Successful Solar Panel Setup

● Start with a small size if you are not sure; you can always increase the size later on.
● Get quotes from various installers and then make a decision.
● Enquire about warranties for both panels and work involved in installation.
● Look for tax credits or subsidies in your locality to reduce up front costs.
Final Thoughts
A solar system installation in a home is not as complicated as it may seem to be. But if you plan and have the necessary equipment, you can enjoy the benefits of clean energy, and low rates of electricity for decades.
Either you decide to follow the DIY solar installation path or go for professional solar installation, knowledge of each step helps to make wise decisions. This solar panel guide is designed to provide you with the knowledge and the confidence you need to power your home using the sun – one panel at a time.
Leave a comment
This site is protected by hCaptcha and the hCaptcha Privacy Policy and Terms of Service apply.