


Solar panels may appear enigmatic, but their genesis is rooted in some of the most advanced technological marvels of our era. Yet, this should not be a source of trepidation. Embarking on the journey of assembling a solar array, edging towards autarky in energy, is a feasible ambition.
The realm of solar innovation has transcended its erstwhile exclusivity to commercial and industrial realms, now offering tangible, economical solutions for domiciliary and leisurely pursuits.
Employing solar panels as a bulwark against blackouts, venturing into autonomous living, and energizing recreational vehicles, among others, are now within grasp. This shields you from the caprices of power interruptions and the escalating expenses of utilities.
Embark on this meticulously crafted guide to initiate your odyssey into solar empowerment.
Remember, the intricacies of solar technology, while profound, are not insurmountable. Your journey towards a more sustainable, self-reliant lifestyle is just a solar panel installation away. Embrace this change, and let the sun power your future.
Calculate Your Power Load
Before embarking on a solar panel project, it's crucial to ascertain the aggregate energy requisition of your system. The electrical demand for a domicile's emergency power differs markedly from the energy requisites of a diminutive van or a sojourn in the wilderness.
Peruse the specifications of each gadget and appliance you intend to operate, consulting the manual or identification tag to discern the wattage needed. To deduce the watt-hours requisite, multiply the apparatus's power specification by the duration of its operation.
As per the U.S. Energy Information Administration, the prototypical American home expends 10,632 kilowatt-hours (kWh) annually, averaging around 886 kWh monthly. To gauge your own energy expenditure in comparison, scrutinize your latest utility invoice for your consumption metrics.
Choose Your Solar Panel Array

Before embarking on a solar panel project, it's crucial to ascertain the aggregate energy requisition of your system. The electrical demand for a domicile's emergency power differs markedly from the energy requisites of a diminutive van or a sojourn in the wilderness.
Peruse the specifications of each gadget and appliance you intend to operate, consulting the manual or identification tag to discern the wattage needed. To deduce the watt-hours requisite, multiply the apparatus's power specification by the duration of its operation.
As per the U.S. Energy Information Administration, the prototypical American home expends 10,632 kilowatt-hours (kWh) annually, averaging around 886 kWh monthly. To gauge your own energy expenditure in comparison, scrutinize your latest utility invoice for your consumption metrics.
Your energy usage mirrors the quantum of power essential to sustain your household's operations. Bear in mind that in scenarios like power outages, it's feasible to limit your electricity consumption to fundamental necessities — such as selective illumination and the operation of a freezer or refrigerator.
In the quest to select an optimal solar panel array for your domicile, several nuances demand attention. Initially, one must ascertain the magnitude of the system requisite to fulfill your power requisites. An escalation in electrical consumption necessitates a proportional increase in panel count. Yet, this relationship is also contingent upon the efficacy ratio of your solar panels.
It's pivotal to acknowledge that no system achieves a precise one-to-one efficacy ratio. For instance, a 10kWh array might yield varying outputs, influenced by factors like conversion efficiency and zenith solar hours. The efficacy ratio is calculated by dividing the estimated kWh output of the array by its total wattage capacity. Typically, this ratio oscillates between 1.3 and 1.6.
Select the Solar Panel Type

In the realm of solar energy, three distinct varieties of solar panels emerge: monocrystalline, polycrystalline, and thin-film. Each category boasts its unique set of merits and drawbacks. The architecture of solar panels also presents a spectrum of choices, ranging from rigid and flexible to portable configurations. Discerning the appropriate type and design that aligns with your specific requisites is a crucial step.
Monocrystalline, Polycrystalline, or Thin Film
Monocrystalline solar panels are singular in their composition, being forged from a lone silicon crystal. This variant of a solar panel is renowned for its superior efficiency metrics and its extended operational tenure, though it commands a higher price point. The OUPES 240W Portable Solar Panel stands as a quintessential embodiment of monocrystalline technology, boasting an efficiency of as much as 23%.
In contrast, polycrystalline panels are an amalgamation of numerous minuscule crystalline entities, known as grains. Their production process is less intricate, which translates to a more economical price tag. However, this cost-effectiveness comes at the expense of reduced efficiency, typically ranging between 13% and 16%, and a compromise in portability.
Thin film solar panels, on the other hand, are characterized by their slender layers of photovoltaic substances applied onto substrates of glass, metal, or plastic. These panels are noted for their diminutive stature, lightness, and enhanced portability, yet they fall short in terms of efficiency, with their conversion rates hovering in the realm of 7% to 18%.
Rigid, Flexible, and Portable
Inflexible solar arrays excel in stationary deployments where their immobility is not a detriment. These panels boast robustness, thriving under diverse meteorological conditions. For domiciliary or recreational vehicle roof integration, their installation necessitates the creation of apertures.
Conversely, pliant solar collectors can embrace a curvature nearing 250 degrees, rendering them superb for compact motorhomes and vans with limited rooftop expanses. Despite their featherlight nature, the tenacious adhesive employed for their attachment may falter under extreme climatic duress.
Movable solar collectors eschew the need for fixed placement. These panels, characterized by their foldable and featherweight design, offer versatile setup options. Their simplicity in installation allows for relocation during the day, optimizing solar interception.
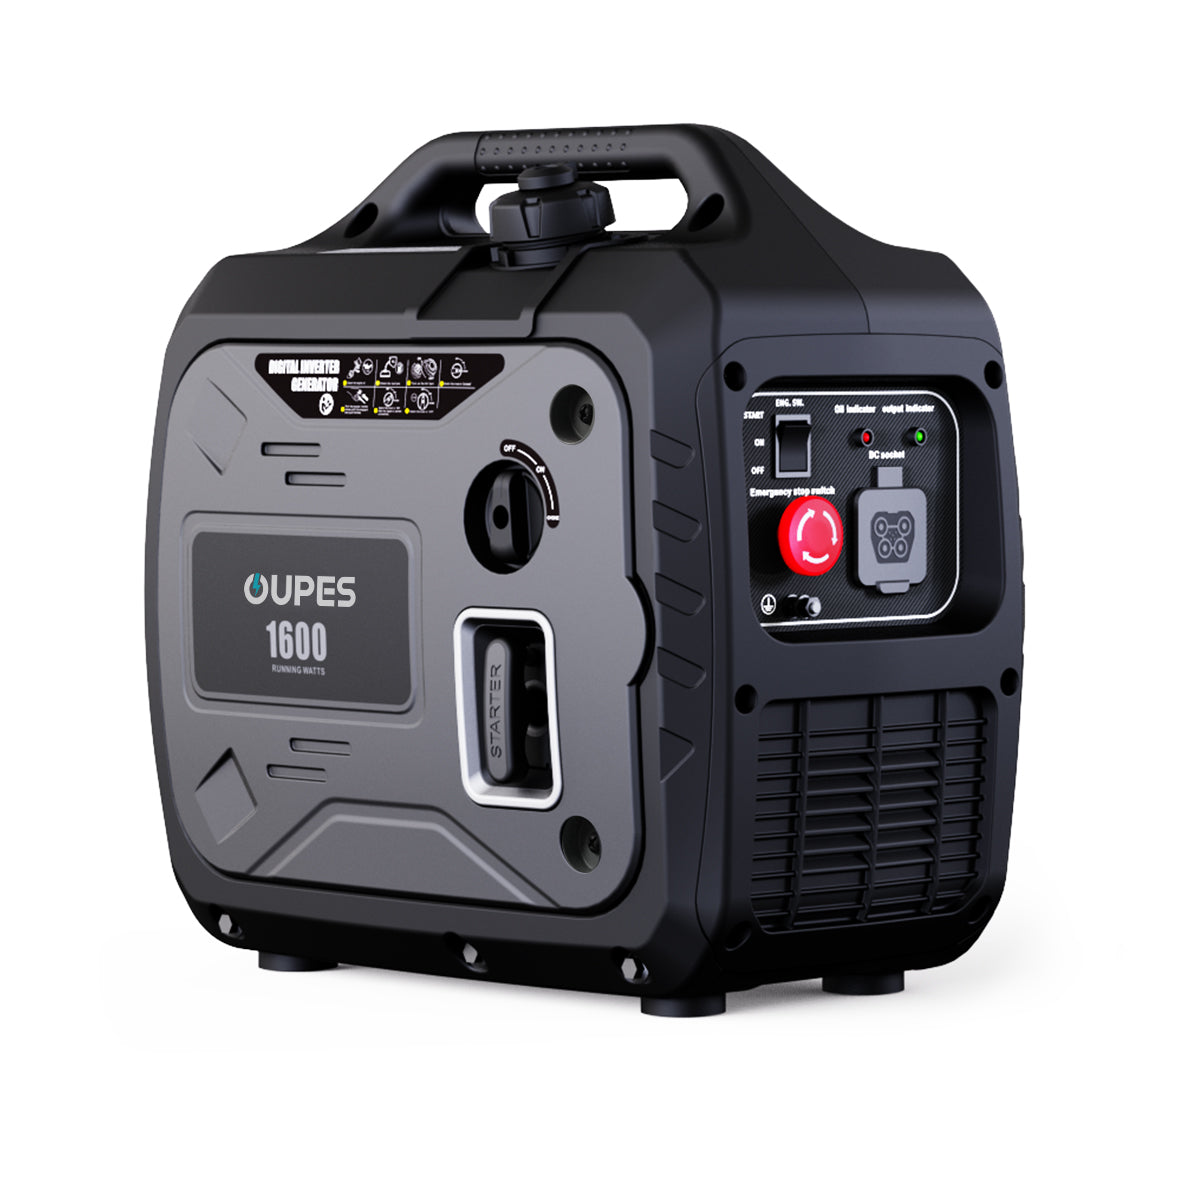
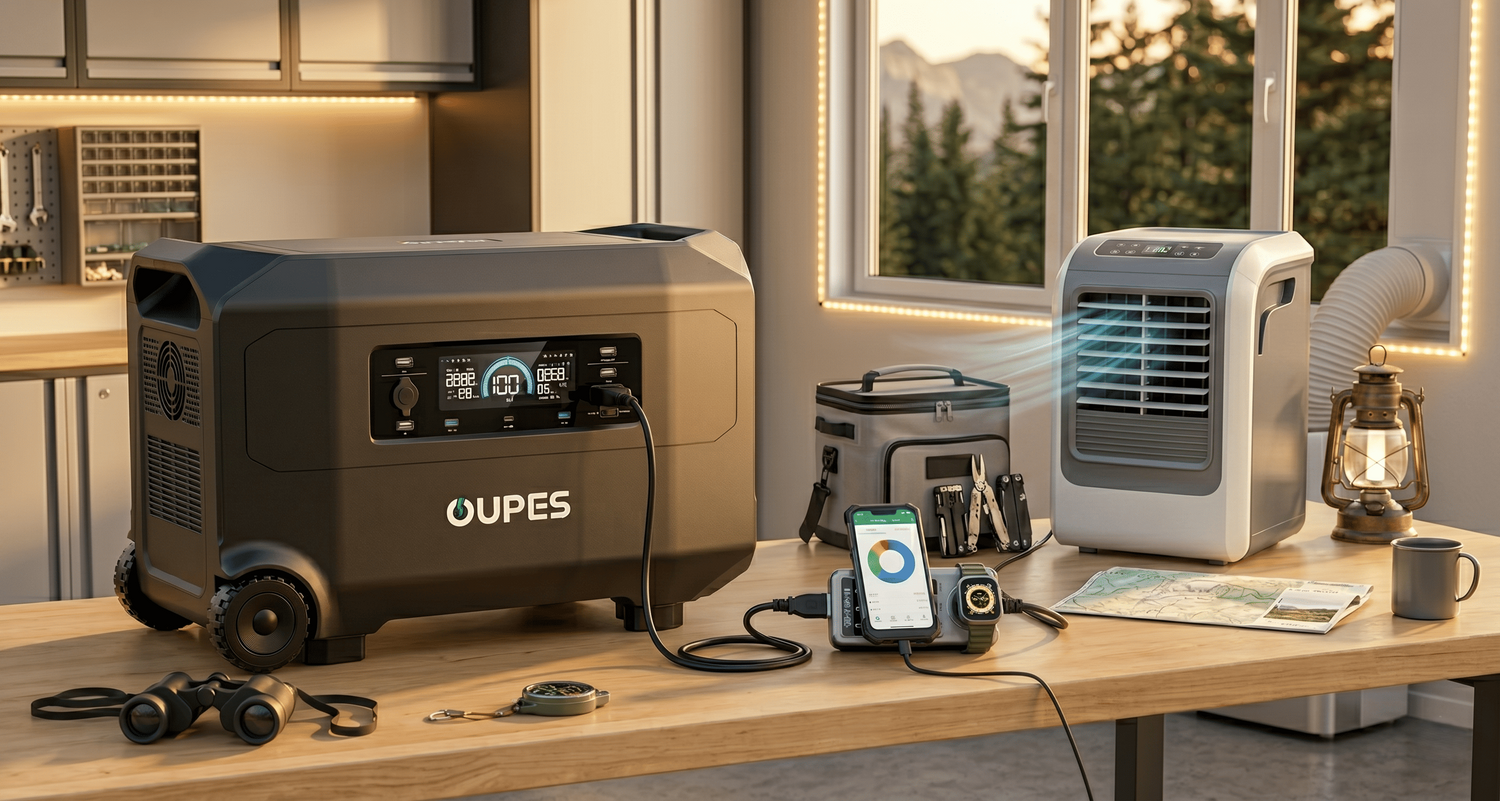
Select the Portable Power Station
Portable solar panel systems typically store their energy in a portable power station. These power stations have everything needed to convert solar power into electricity and store it in a solar battery for later use.
There are two common types of solar batteries: lead-acid and lithium phosphate. Lead-acid batteries are more affordable but less durable, while lithium-ion batteries are pricier but lighter and longer lasting. Lithium-ion batteries also have deeper cycles, meaning a longer lifespan and more efficient energy storage.
It's essential to ensure that your chosen battery is compatible with your solar panels because solar panels and power stations may not have universal designs, and the connections may not work together. In most cases, it's best to buy your entire solar power system from the same manufacturer to avoid compatibility issues.
Purchase the Balance of the System

In the intricate tapestry of your solar system, every element beyond your panels contributes to the equilibrium of the system. These integral parts forge the foundation for your solar panel array.
The assemblage might encompass:
- A charge regulator is tasked with monitoring and stabilizing the voltage coursing into and out of accumulators, thus averting their excessive charging.
- An apparatus for transmuting Direct Current into Alternating Current.
- Conductive filaments.
- An apparatus for affixing the system.
- Connectors of the 12-10 ring terminal variety.
- 20A edge fuse and electromagnetic switches.
- A consortium of batteries.
- A device for replenishing battery power.
Gather the Necessary Tools and Components
In addition to your solar array apparatus, the ensuing instruments are paramount for an efficacious installation:
Tools
- Wire stripper
- Wire crimper
- Screwdriver
- Battery-operated drill
- Fuses
Understand How Solar Panels, Charge Controllers, Batteries, and Inverter Work Together
Before embarking on the assembly and electrical integration, it's prudent to comprehend the synergy of the constituent elements.
A quartet of components constitutes any solar array system: an inverter, a battery, a photovoltaic module, and a charge regulator. The photovoltaic module, a pivotal element, captures heliacal energy from the sun's rays. The photovoltaic cells produce direct current (DC), which is then stored in the solar accumulator.
The inverter forms a nexus with both the accumulator and the charge regulator. Its primary role is the transmutation of direct current (DC) into alternating current (AC), the prevalent form of electricity in domestic environments, and the lifeblood of most household apparatuses.
In the scenario of fabricating your solar array from the ground up, it's imperative to fortify each juncture with a fuse. Integrate a fuse in the circuitry between the photovoltaic module and charge regulator, between the regulator and the accumulator, and between the accumulator and the inverter. Affix these fuses to the positive conductors in each linkage.
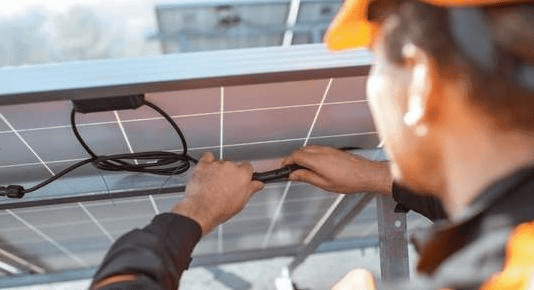
Mount the Solar Panels

A myriad of methodologies for the installation of solar panels exists, yet individuals predominantly gravitate towards terrestrial, rooftop, or stanchion-based setups.
In a terrestrial arrangement, one affixes their solar collectors upon an inclined metallic framework, engineered to harvest maximal luminosity as the sun traverses its celestial path. This configuration obviates the need for planar alignment, unlike its rooftop counterpart, and, distinct from rooftop emplacements, permits angular adjustments to perpetually align with the sun’s trajectory.
Consequently, a majority of domiciliary proprietors lean towards rooftop installations, where solar collectors are anchored atop domiciles, oriented towards the cardinal point of true south to bask in peak solar effulgence. The merit of this approach lies in its “install and disregard” philosophy, enabling power generation sans active contemplation, occupying merely the rooftop and sparing the ground.
Stanchion mounting entails the elevation of solar panels, perpendicularly poised at 90 degrees, on the flanks of poles. Alternatives include apex-of-stanchion mounting, where panels rest just above the pole’s summit rather than dangling from its side, or the employment of multiple poles for ground mounts, an ideal solution for deploying an array of panels rather than a solitary few.
In scenarios involving multiple solar collectors, the juncture for their interconnection arises. The choice between augmenting voltage or amperage dictates the preference for either a serial or parallel linkage.
OUPES portable solar panel crafted for effortless alignment, allows for optimal absorption of the sun's rays through its adjustable angle, ensuring maximum efficiency in energy capture.This fusion of adjustable orientation and facile connection underscores the panel's commitment to both performance and user convenience.
Set up the Inverter (Maybe Optional)
Upon successful affixation of your panels, the subsequent phase involves their integration with your inverter.
Affix the ANL fuse securely to the positive conduit of the battery, followed by the insertion of the inverter’s 12V connector into the corresponding 12V aperture on the NOCO GC018 cable. This step is pivotal in forging an electrical pathway between the battery and the inverter. Establish a connection by joining the positive conduits from both the inverter and the battery to the battery’s positive terminal.
Should your inverter be equipped with an LED indicator, expect it to exhibit either a pulsating or a constant verdant hue at this juncture.
Turning attention to the charge controller, locate the battery terminals on the controller’s plug side and introduce the stripped end of the negative battery cable. Secure this connection to the battery. Upon successful linkage, a second viridescent beacon should activate, signaling the charge controller’s operational status.
Connect the Solar Panels to the Battery

Upon successful installation and electrical integration, the juncture arrives to establish a connection between the solar panels and the charge controller or power station. This particular configuration hinges on the presence or absence of an integrated charge controller within your Portable Power Station (PPS).
In the absence of an integrated charge controller, the onus falls upon you to manually forge a connection with your photovoltaic (PV) panels. These panels are equipped with analogous positive and negative terminals, mirroring those found on your inverter, battery, and charge controller.
Emulating the previous steps, attach the Universal Solar Connector inline fuse to the positive cable of the solar panel. Subsequently, link this cable to the charge controller adapter, and execute a similar procedure for the negative counterpart. These are then plugged into your charge controller.
Voilà! The illumination of a third verdant LED indicator should occur.
Post-connection, it is prudent to conduct a trial run to ascertain the functional efficacy of the solar panels. The least desirable scenario is to find oneself amidst the installation process with an impending tempest looming.
Conclusion
To extricate oneself from the conventional energy grid, one must often embark on constructing a bespoke system. This manual demonstrates that self-installation of a photovoltaic array is not only within the realm of feasibility but also a tangible reality.
Opting for a ready-to-use solar kit from a distinguished producer like OUPES, or choosing the path of self-assembly, both roads lead to the same destination.
Provided that one selects components of high caliber and compatibility, the transition to harnessing solar energy can be achieved with remarkable swiftness.


Leave a comment
This site is protected by hCaptcha and the hCaptcha Privacy Policy and Terms of Service apply.